
This guide shows how to upload your organization's own traffic counts, so they can be used as counters in any counters dataset, in any of your projects.
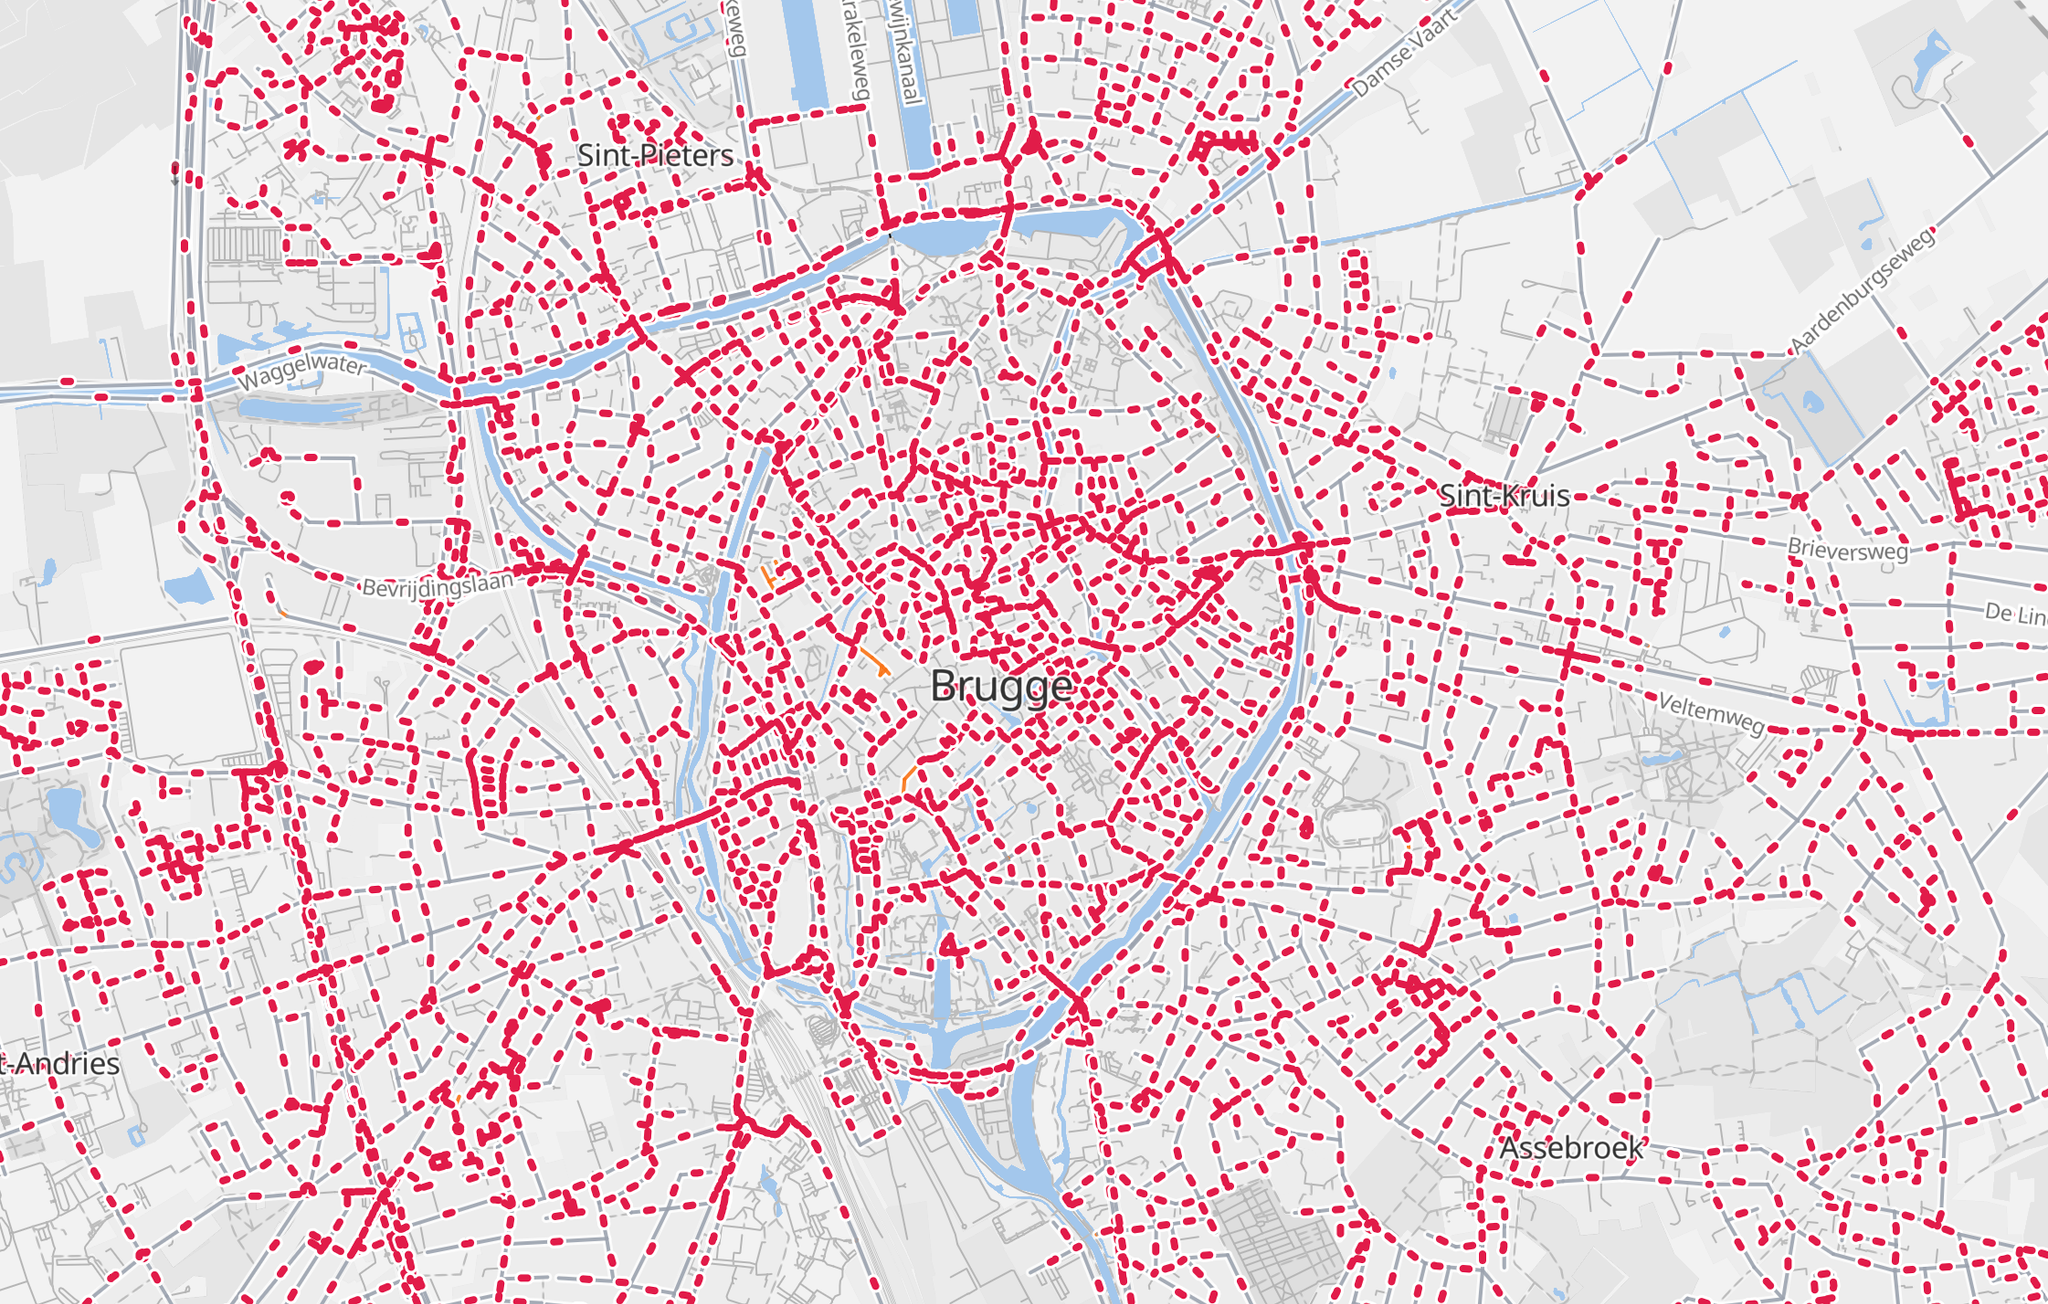
When should I use this
Use this when you already have traffic counts as a file, rather than counts you want to enter one at a time on the map.
Typical cases:
- Link counts exported from loops or other counting equipment
- A counting campaign delivered by a consultant or a road authority
- Counts you want available to everyone in your organization, in every project
Counts uploaded this way belong to the organization, not to a single project. Upload them once and they are available everywhere.
Before you start
You need:
- A GeoJSON FeatureCollection of LineStrings in WGS84 (EPSG:4326)
- One line per counted road, or one per counted direction — see Data shape below
- Each line drawn along the road it counts
- The counted volumes in the attributes of each feature
All other attributes are kept as they are, so there is no need to strip your file down before uploading.
Steps
1. Open the Data tab
- Open your organization
- Click the Data tab
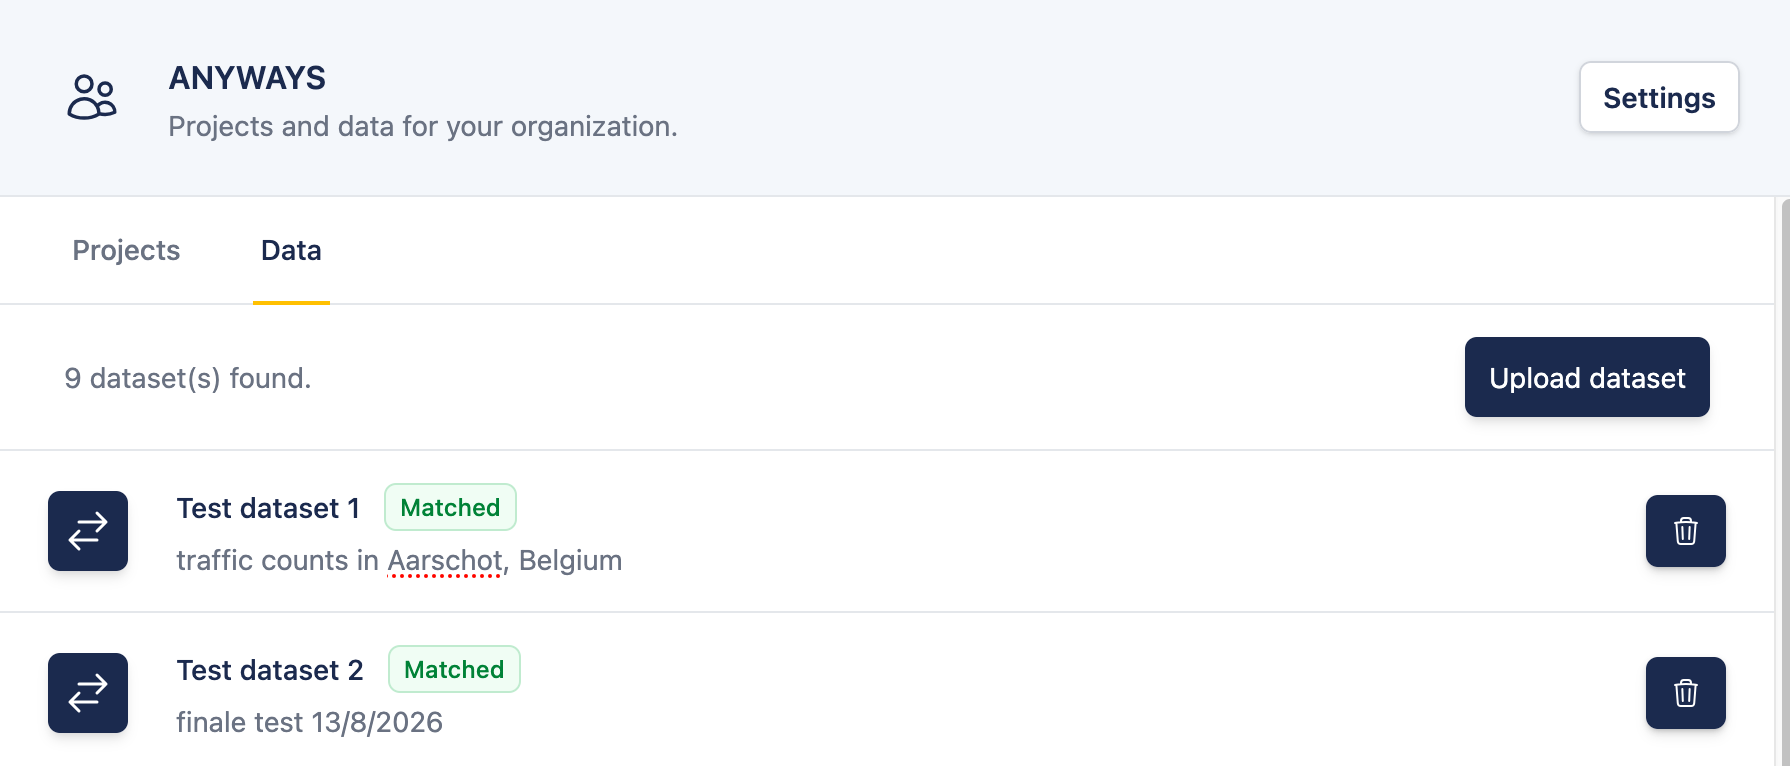
The tab lists every traffic count dataset your organization has uploaded, each with its current matching status.
2. Upload the file
- Click Upload dataset
- Choose your GeoJSON file
ANYWAYS reads the file and reports how many features and how many distinct attributes it found, so you can check you picked the right file before going further.
3. Tell ANYWAYS how to read the counts
Give the dataset a name, and a description if it helps your colleagues recognise it later. Then describe how the counts sit in your file.
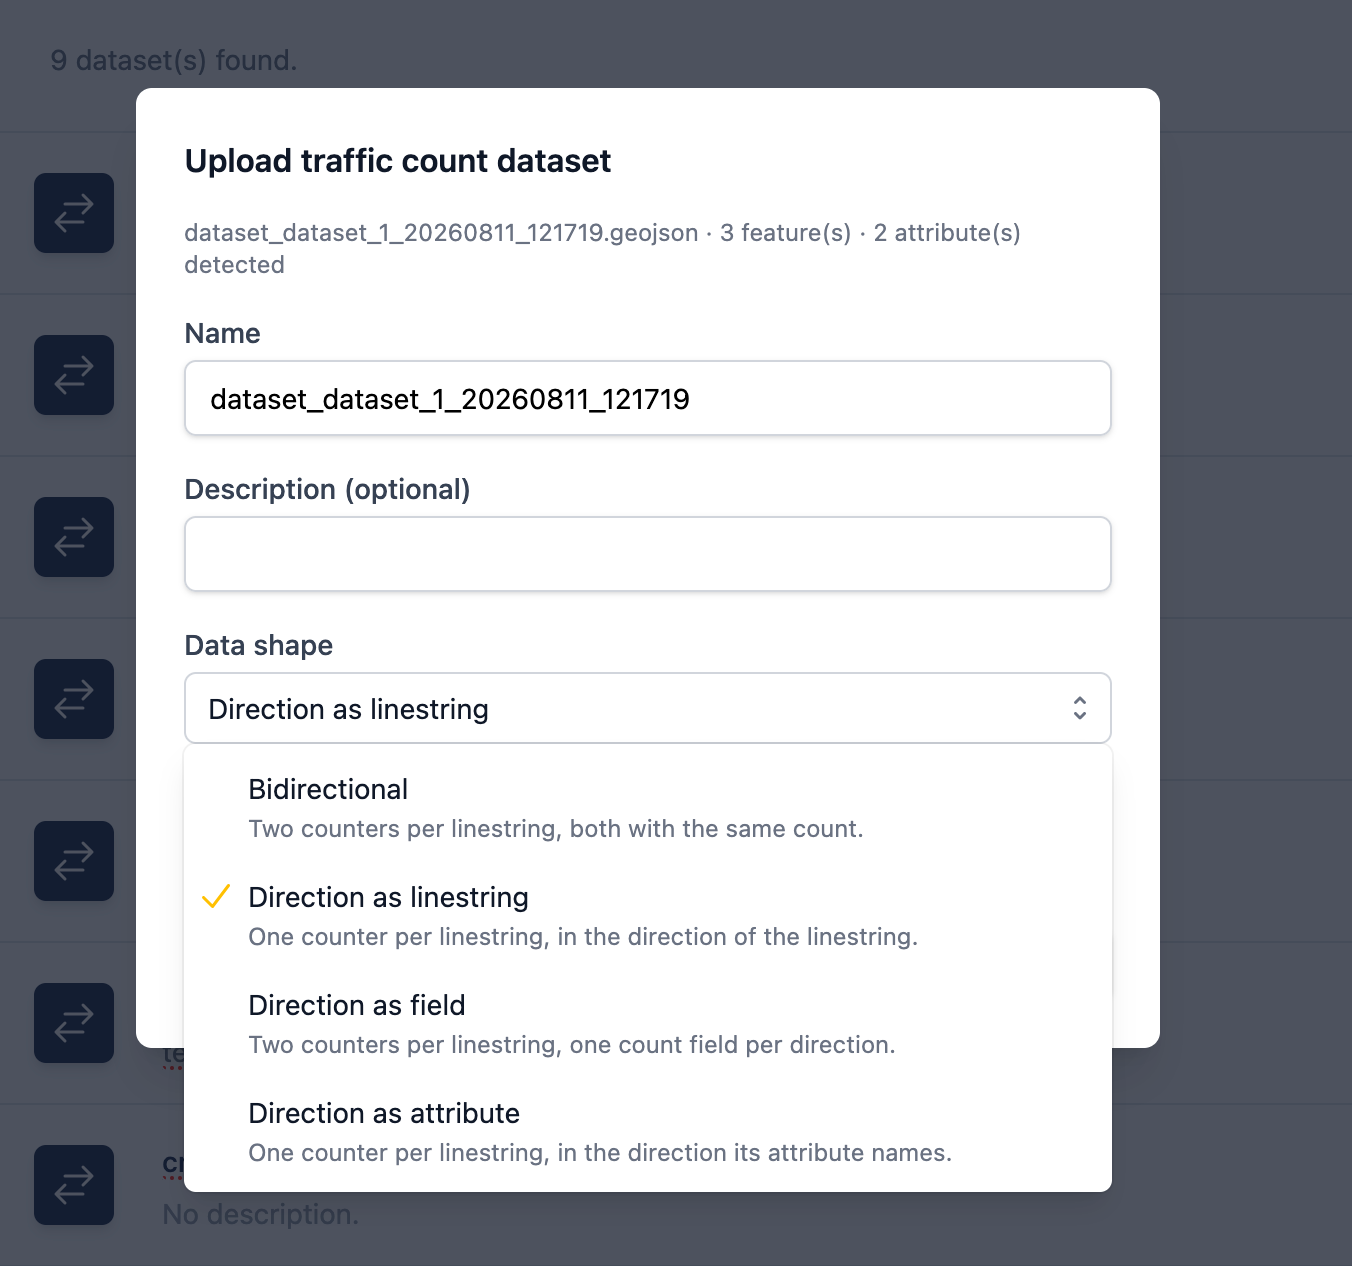
Data shape
The four shapes differ in two ways: how many rows there are per road, and where the direction of each count comes from.
Shape | Your file looks like | What you get |
Bidirectional | One row per road, with a single count field | Two counters, both with that count |
Direction as linestring | One row per direction, with a single count field | One counter, in the direction the line is drawn |
Direction as field | One row per road, with a separate count field per direction | Two counters, one from each field |
Direction as attribute | One row per direction, with an attribute naming the direction | One counter, in the direction its attribute names |
For Direction as linestring, the direction each line is drawn in decides which way its count applies. A line drawn the wrong way round produces a counter pointing the wrong way, and nothing in the upload will warn you about it. If your export does not guarantee the drawing direction, use Direction as attribute instead and let an attribute state the direction explicitly.
Count fields
Below the shape, pick which attribute holds the count. The choices come from the attributes found in your file, so there is nothing to type.
What you are asked for depends on the shape:
- Bidirectional and Direction as linestring — one count field
- Direction as field — a forward and a backward count field, which have to be different
- Direction as attribute — a count field, the attribute that names the direction, and which of its values mean forward and backward
For Direction as attribute, the forward and backward values are offered as a list too, taken from the values actually present in your file.
4. Wait for the matching to finish
After uploading, every line in your file is matched onto the road network and turned into directional counters. This runs in the background and can take a while on a large file.
The dataset's status tells you where it is:
- Matching… — still running
- Matched — finished, and at least one line matched successfully
- Failed — finished, but nothing matched
A Failed dataset almost always means the counts were read incorrectly — usually a count field holding something other than a number. Correct the settings and run it again, as described next.
5. Check the result
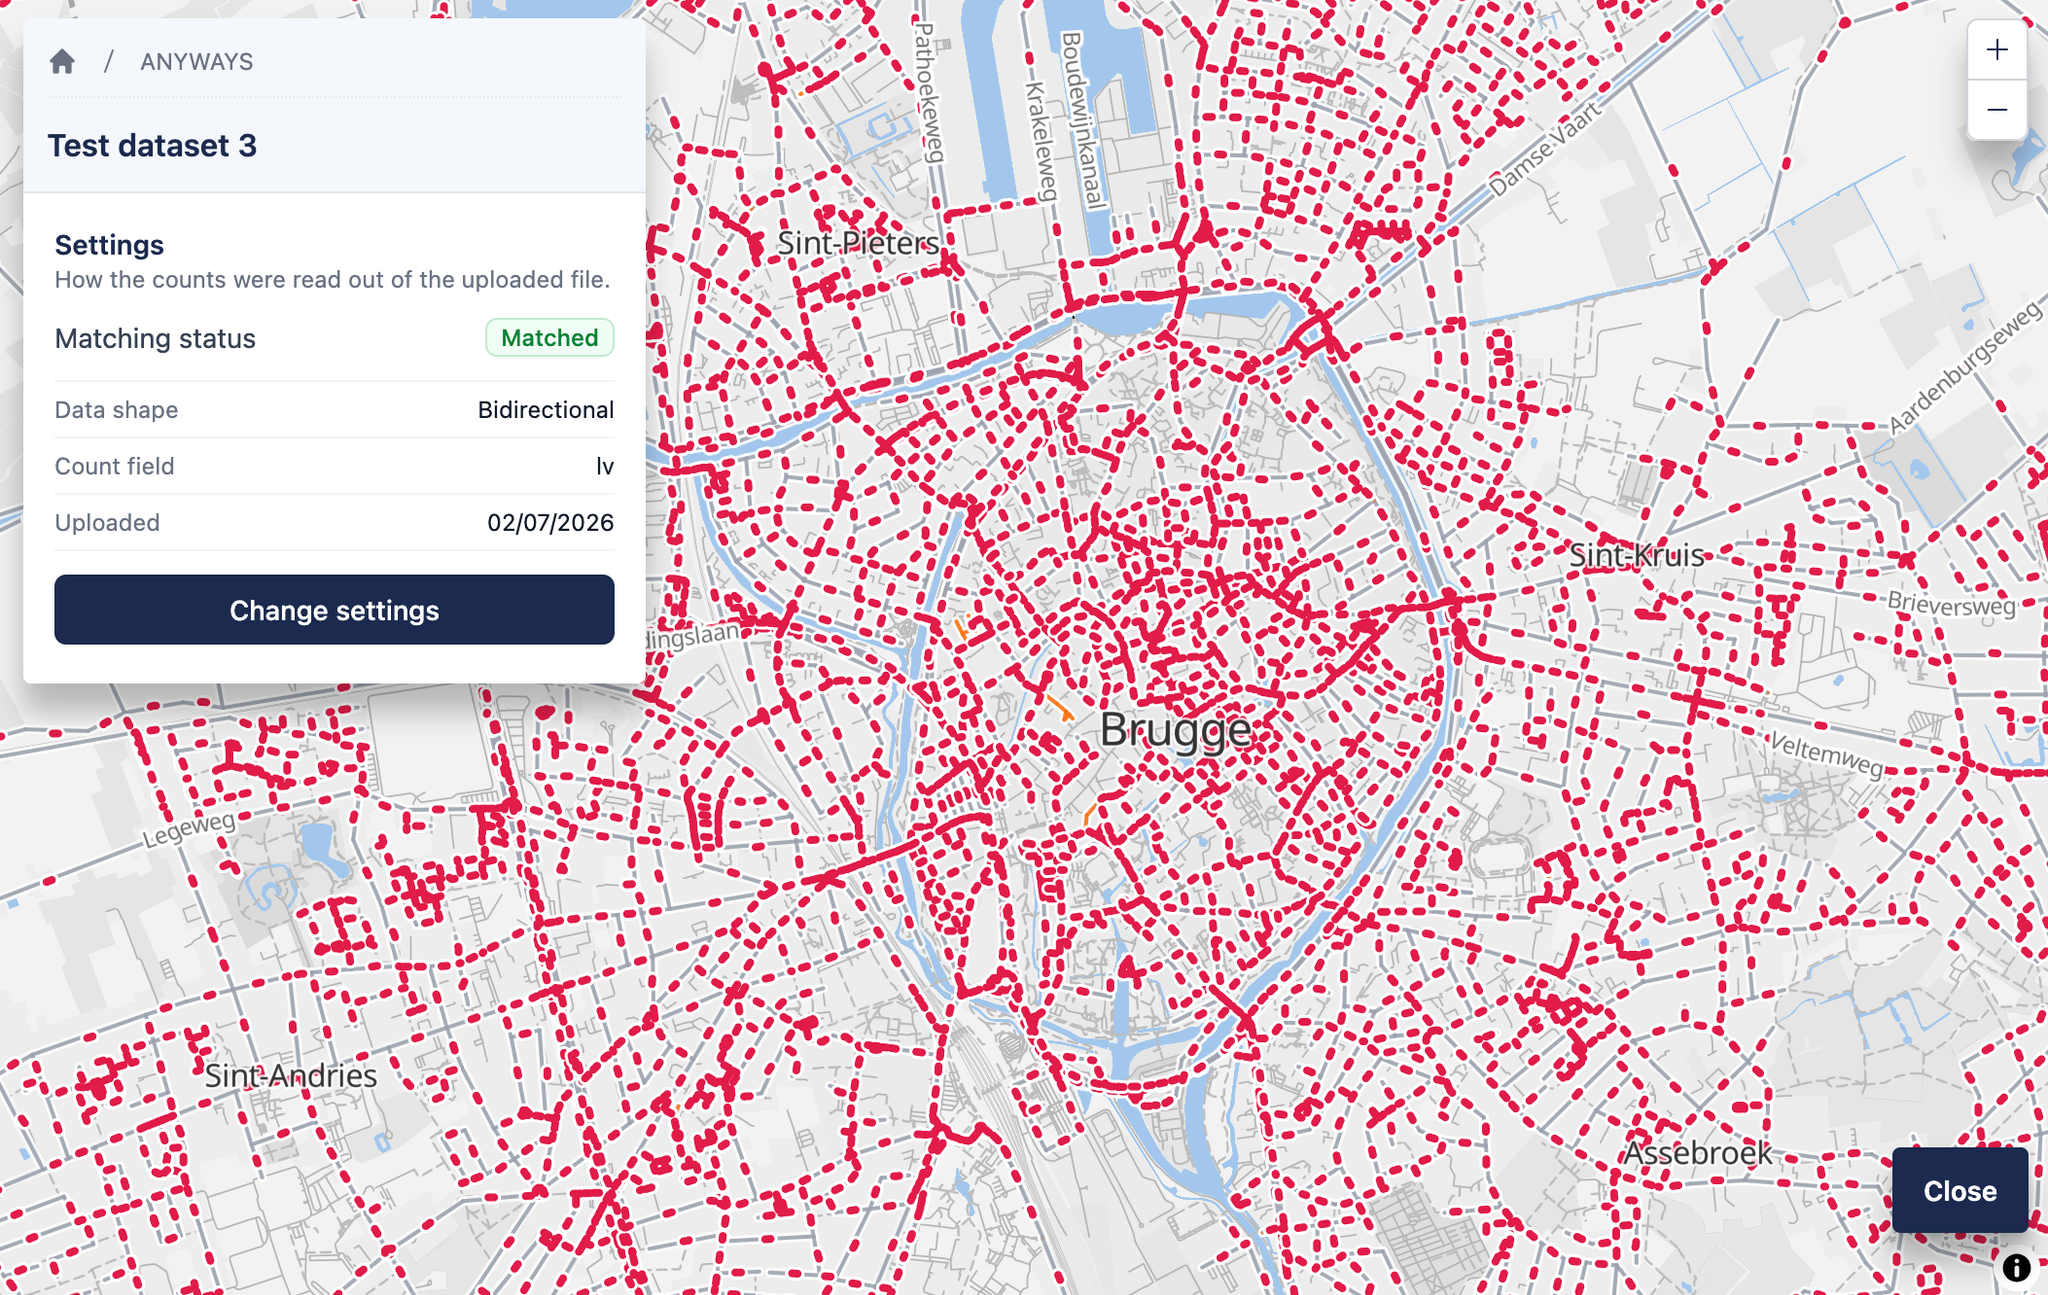
Open the dataset to see it on the map. The lines from your file are drawn together with the counters matched from them, so you can see at a glance which parts of your data landed on the network and which did not. Click any line or counter to see its attributes and the counts read from them.
The panel on the left shows how the file was read: the data shape, and the fields it was read with.
If something is wrong — the wrong field, or the wrong shape — click Change settings, correct it, and click Ok. Saving re-runs the matching for the whole dataset with the new settings.
6. Rename, describe and delete
Back on the Data tab, click a dataset's name or description to edit it in place. Deleting a dataset also removes the counters that were matched from it.
7. Use the counts in a project
Uploaded datasets are available as counters in any counters dataset in your organization's projects. Continue with:
✅ That's it — your traffic counts are ready to use across your projects.