
In a nutshell
In QGIS you can access the networks you built with ANYWAYS to perform route calculations with your own data.
Install
You can find the plugin in the official QGIS plugin repository here. Or you can access it via the QGIS software. Just look at the Plug-ins menu and select ‘manage plug-ins’. You can find it there if you just type in ‘ANYWAYS’ - it’s called the ANYWAYS plugin. Couldn’t be more straight forward, no? Did we mention we like to keep things silmple?
Prepare
Now all you need for this to work is data. There are two types of data to work with:
- point data, i.e. a layer with one or more points. These points are ideally placed on or near roads that can be walked, cycled and or driven - depending on the mode of transport you want to do route planning for. You can calculate routes between all points from two layers. A typical case would be to have one point as origin and/or destination (representing a POI such as a supermarket or car park) and a second layer with a large number of points representing the ‘household’ end of the trip.
- a LineString layer (of any type e.g. shapefile, geojson, …) with one or more lines. This would be typical what you use for representing OD data. The line represents one cell in the OD data table. You can set the volume of traffic between the starting and endpoint as an attribute ‘count’.
Use the plug-in
Now you can use the plugin to calculate routes.
- select the url from your project page (i.e. the ‘management’ page of your project)
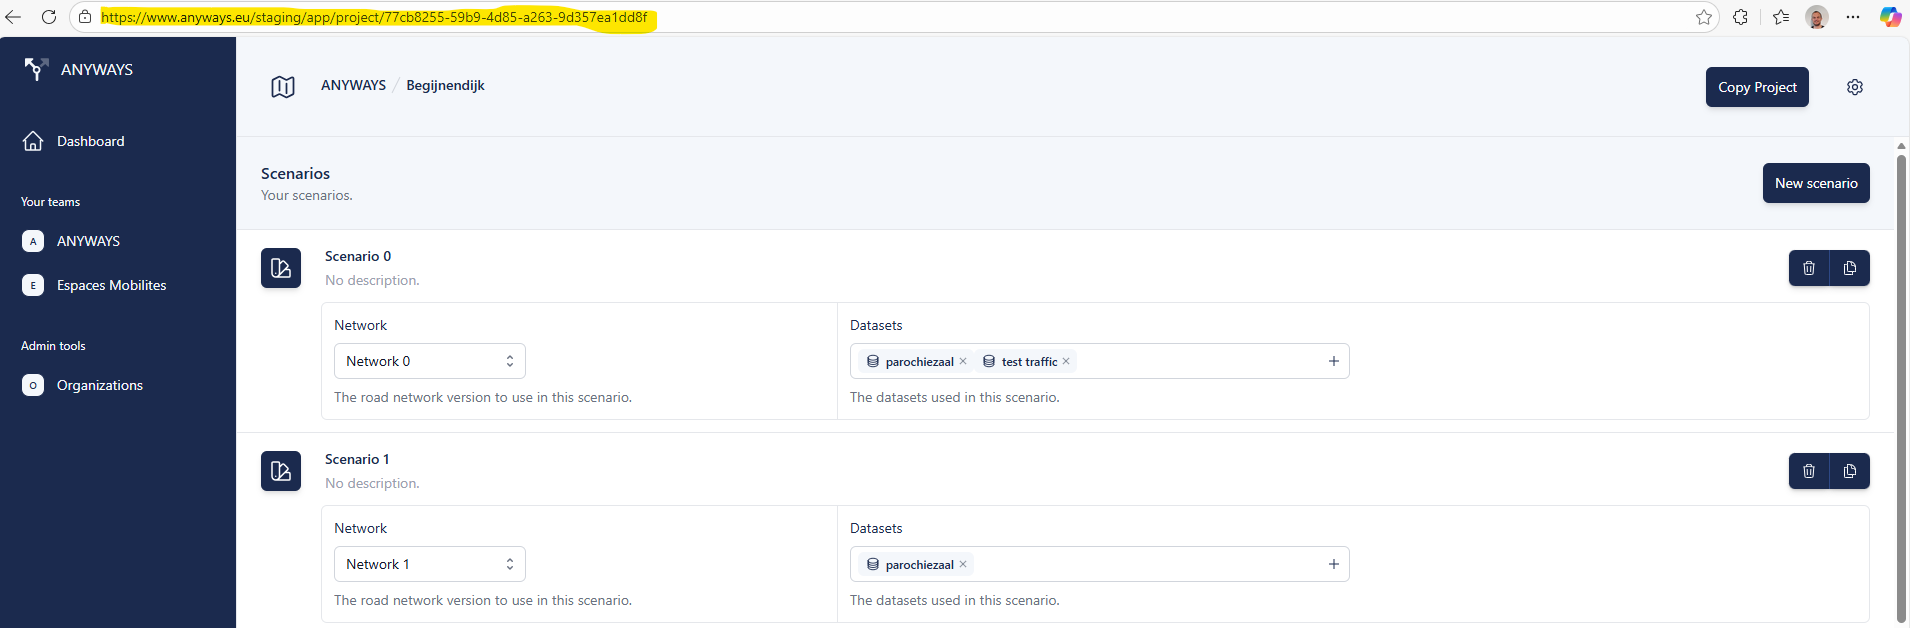
- paste the url in the ‘Project URL’ textbox in the ‘settings’ tab. When you clich the button below, you will see that only the last part of the url (i.e. the unique ANYWAYS key of your project) remains
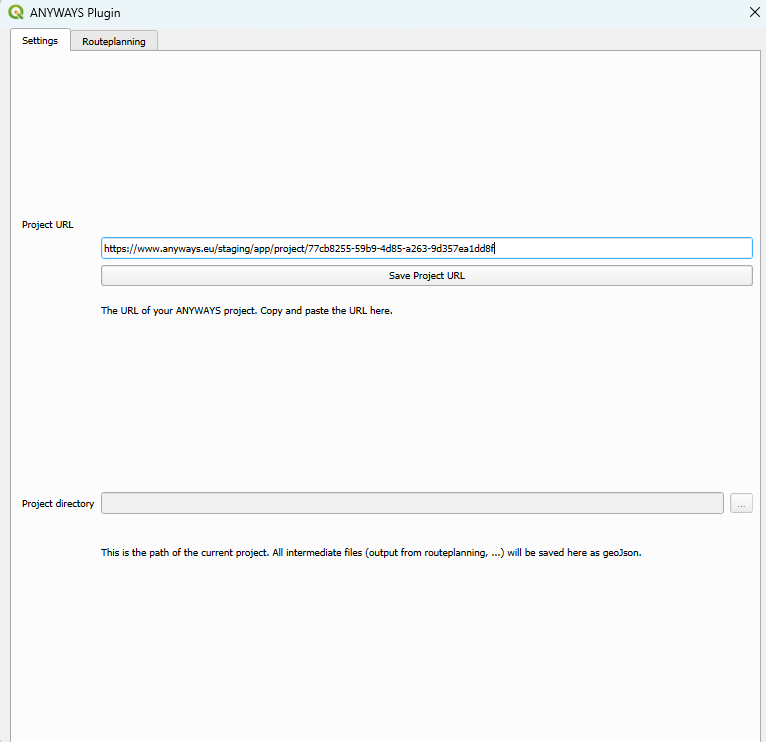
- You have to save your QGIS project for the tool to work. You will see the directory in the Project Directory texbox.
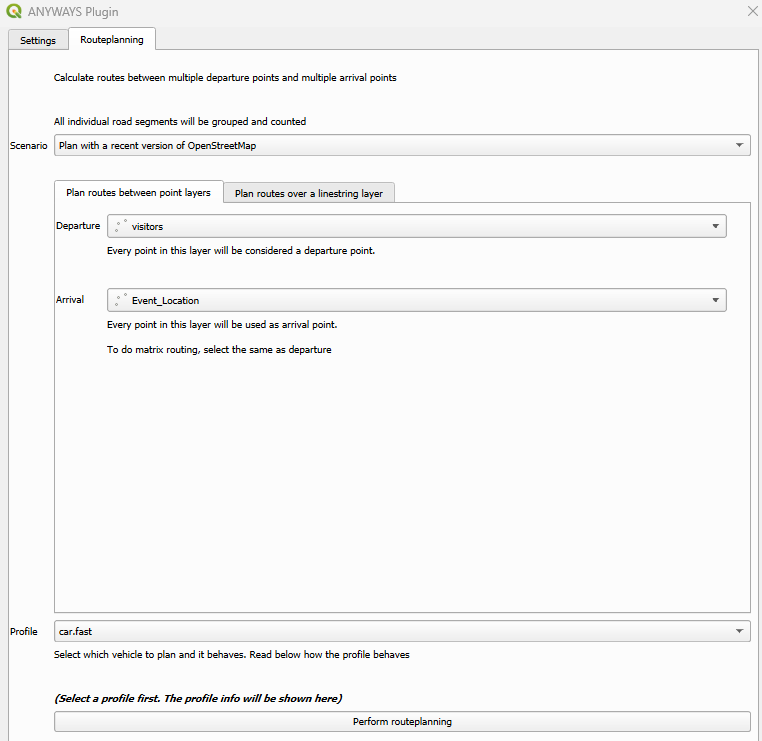
- Now select the Routeplanning tab. In the ‘Scenario’ selection field you will see all the networks you created in your ANYWAYS app. You can also select OSM, it will then use the recent OpenStreetMap to calculate routes.
- Next choose either two point layers that are in your QGIS project (in this example we creted two point layers: an event location with one point and a visitor layer with points where the visitors of the event live.
- Choose the Profile and press the button ‘Perform routeplanning’.
- In the result screen you will now see two shapefiles added: one with segements of all routes where ‘overlapping’ segments of individual routes are grouped. This allows for an analysis of the number of trips on each segment. The other (_routes) is one linestring for each route. This allows you to perform an SLA in QGIS
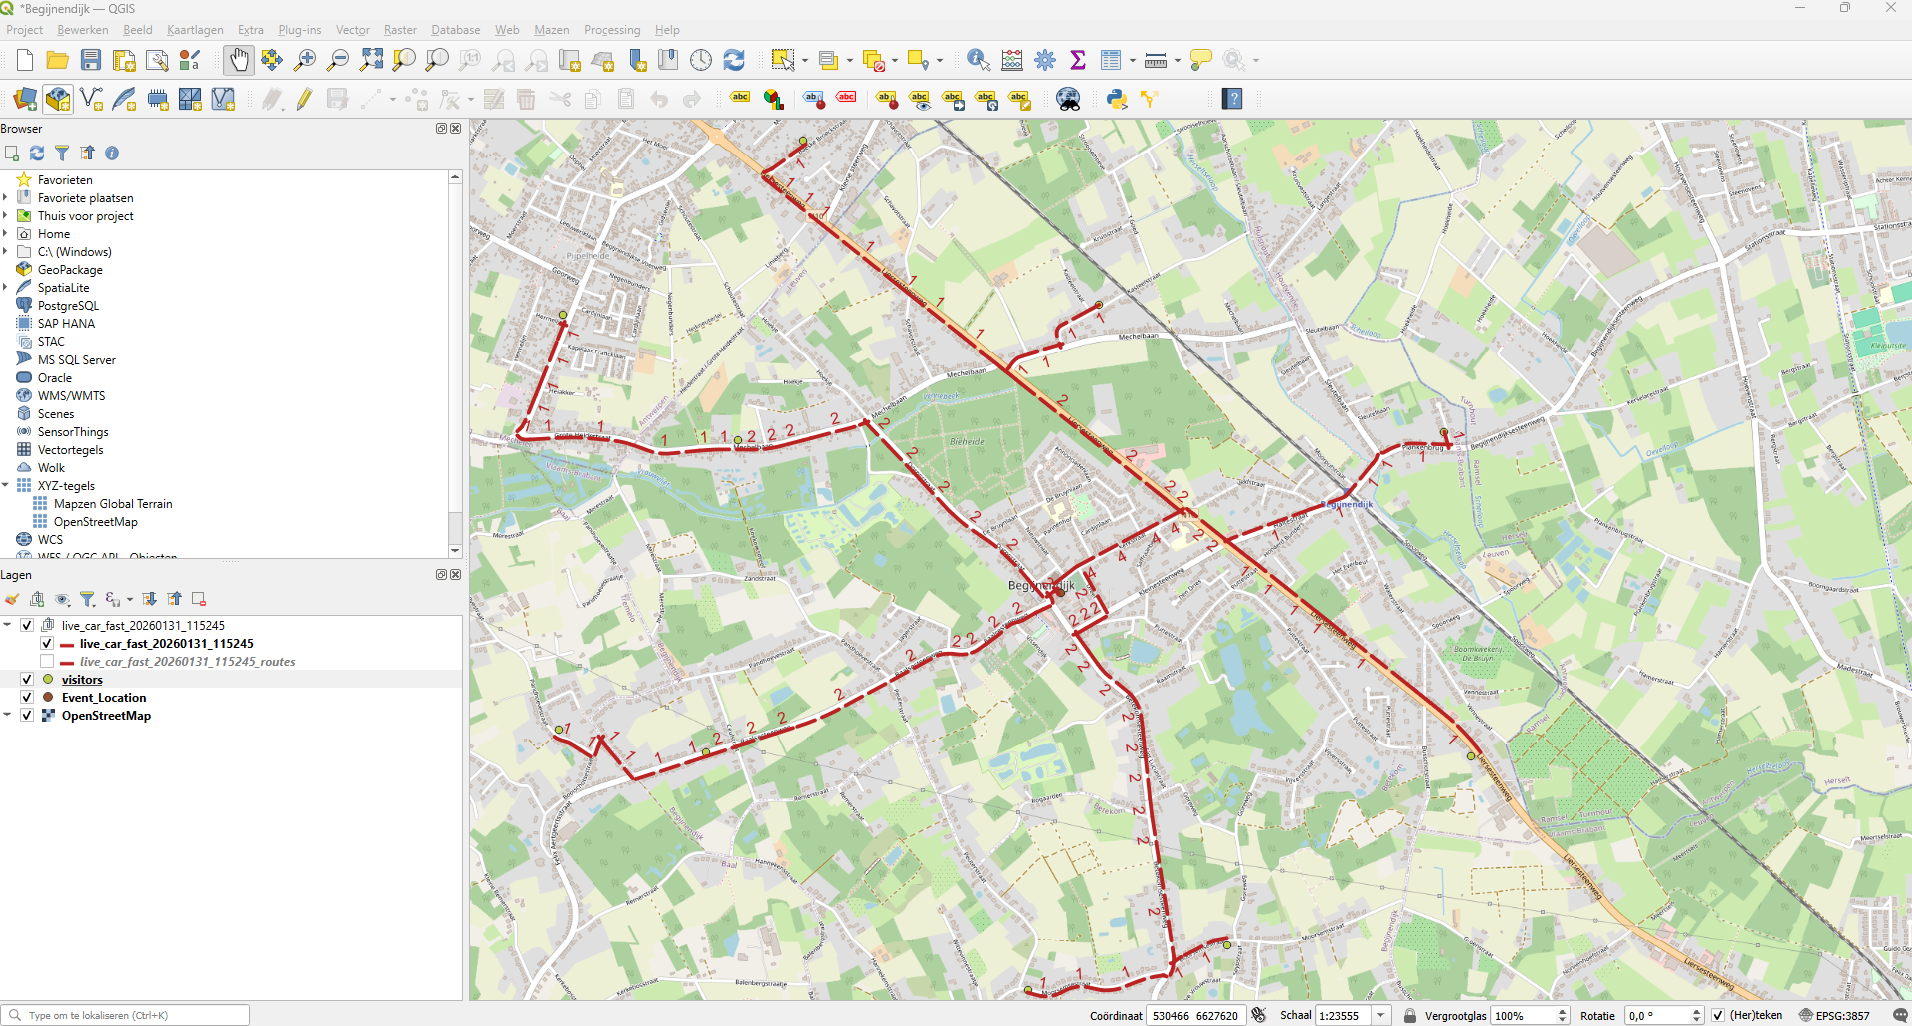
That’s it! Now you can unleash your QGIS skills to visualise and analyse the results any way you want. Have fun!