
Use the route planner to manually calculate and compare routes through a network.
When should I use this?
Use the route planner to:
- Inspect routing behaviour in a network
- Compare routes before and after network edits
- Understand the effect of direction changes, access restrictions, or speed limits
The route planner works on a network and does not require a scenario or datasets.
Before you start
- A project in the area you want to work in.
Steps
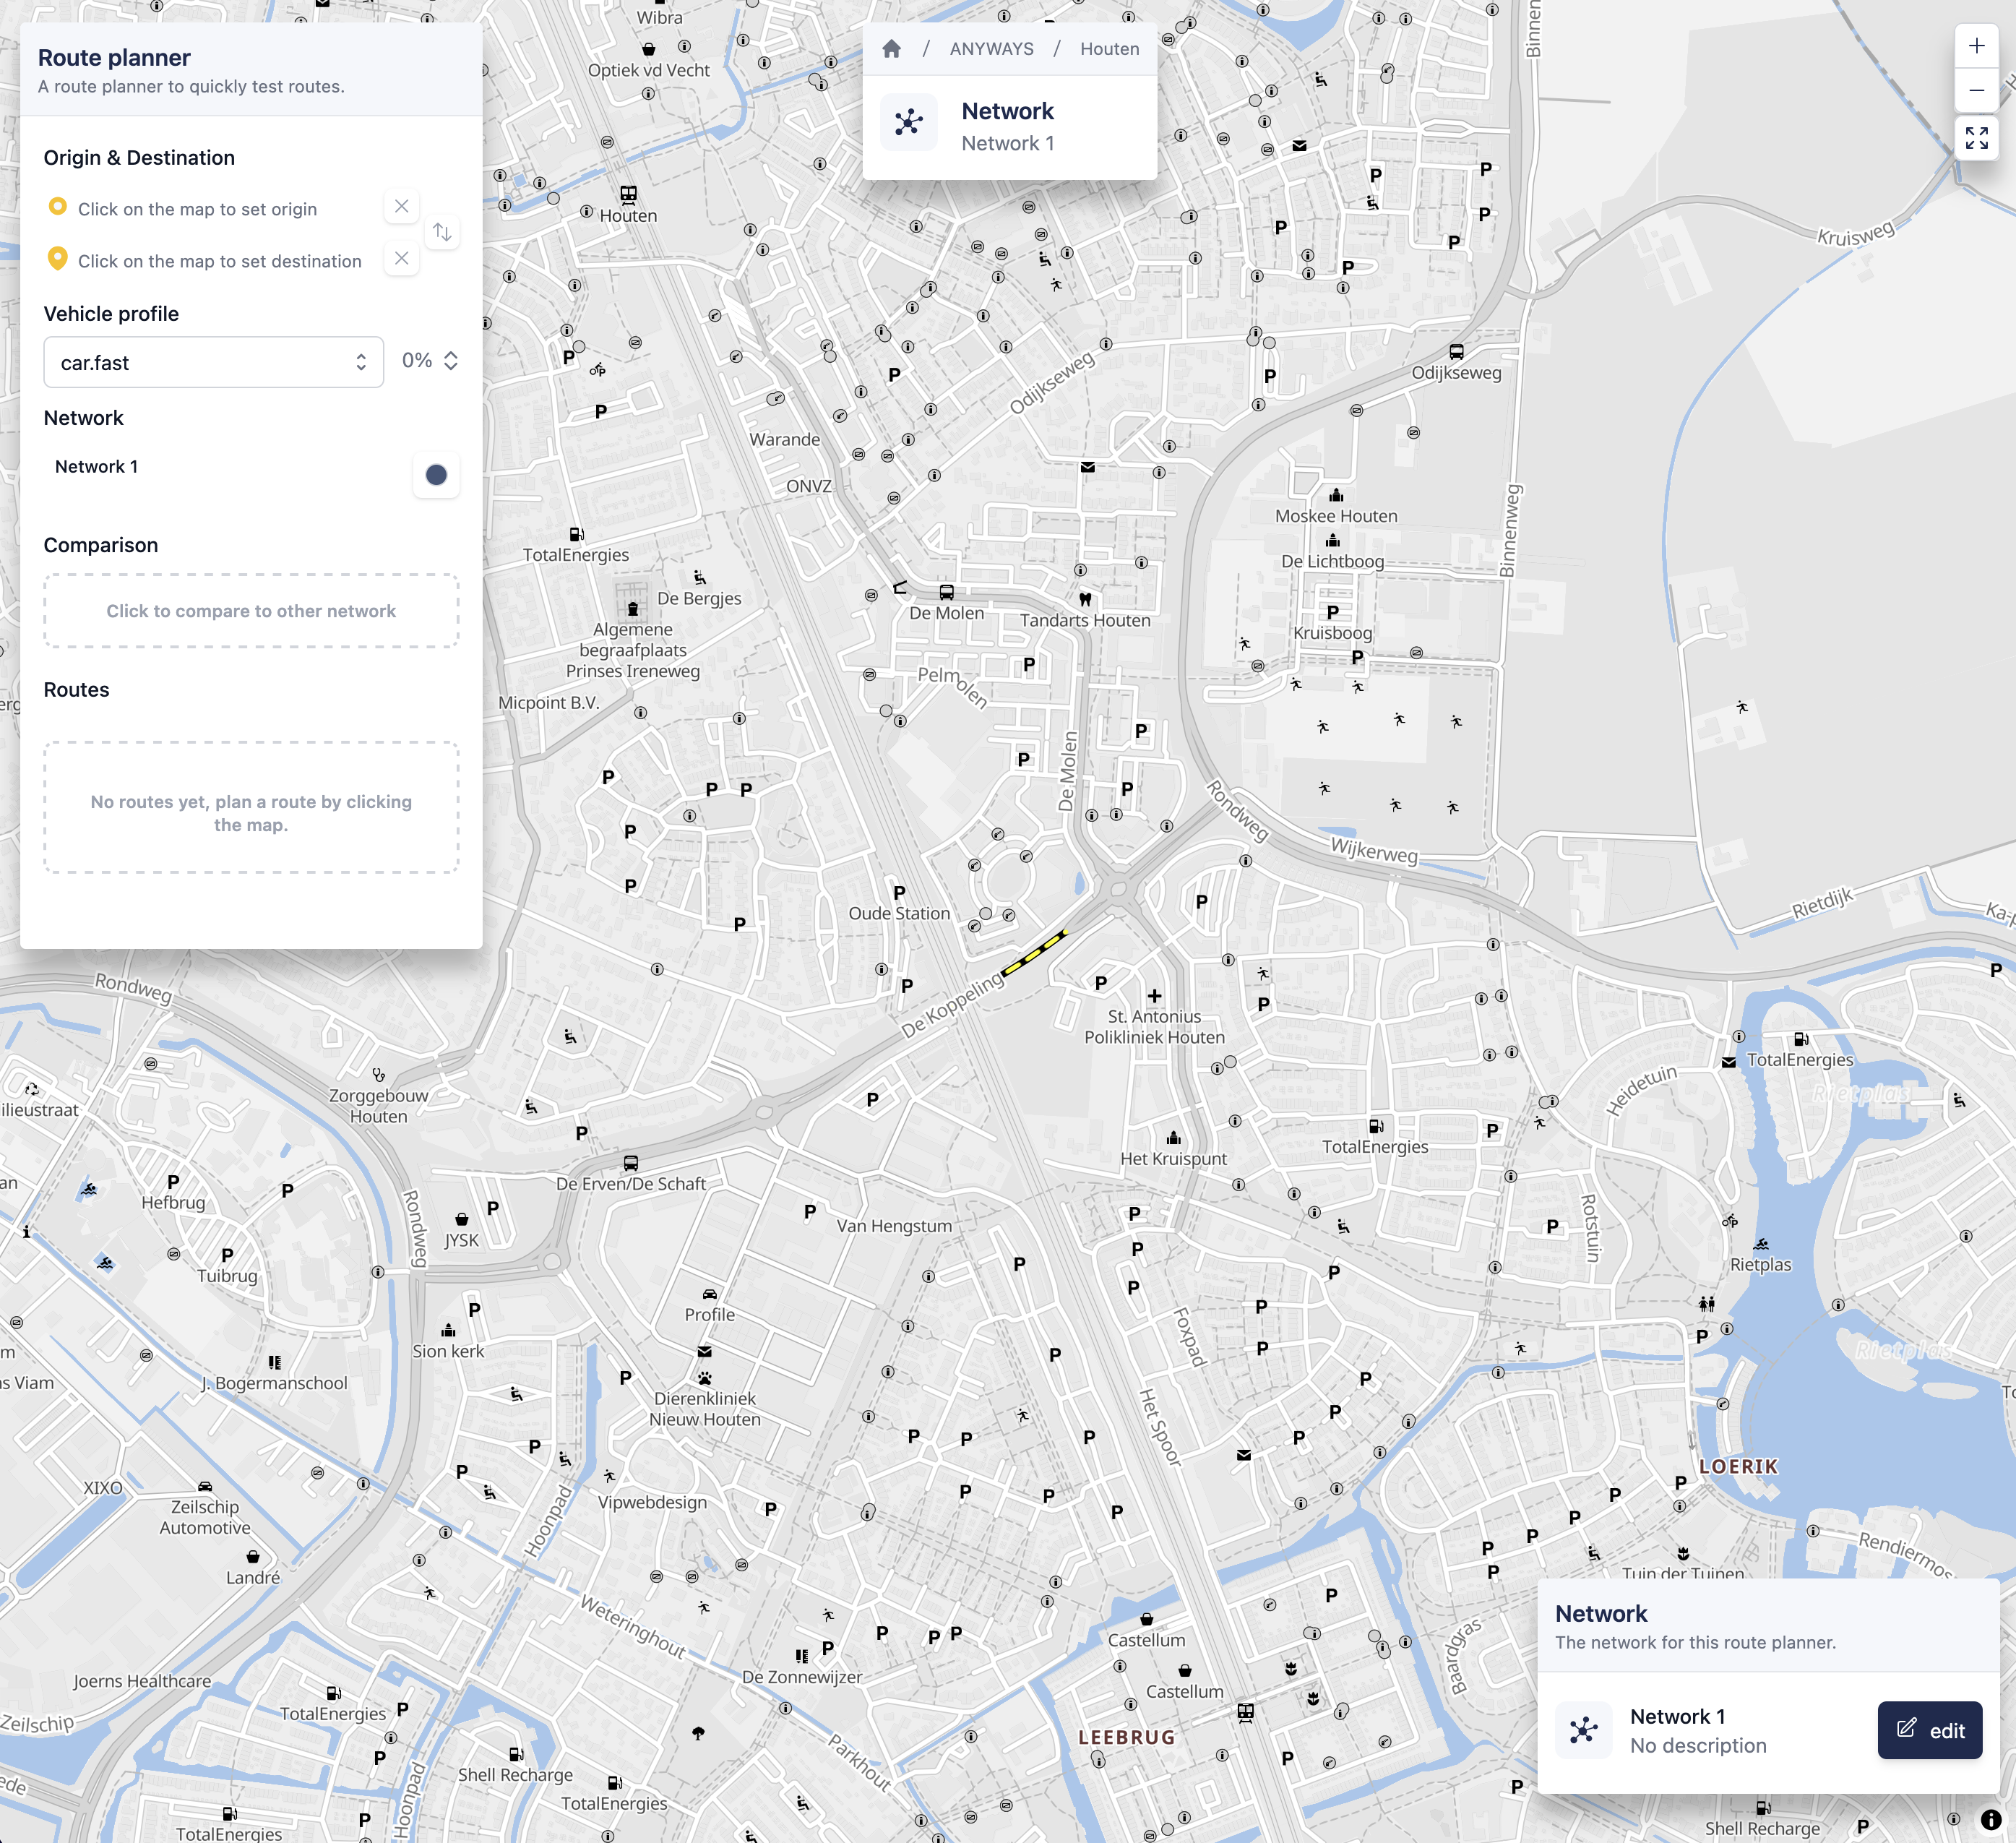
1. Open the route planner for a network
- Open your project
- Scroll to the Networks section
- Click Route planner next to the network you want to test
A map will open with the network and the route planner.
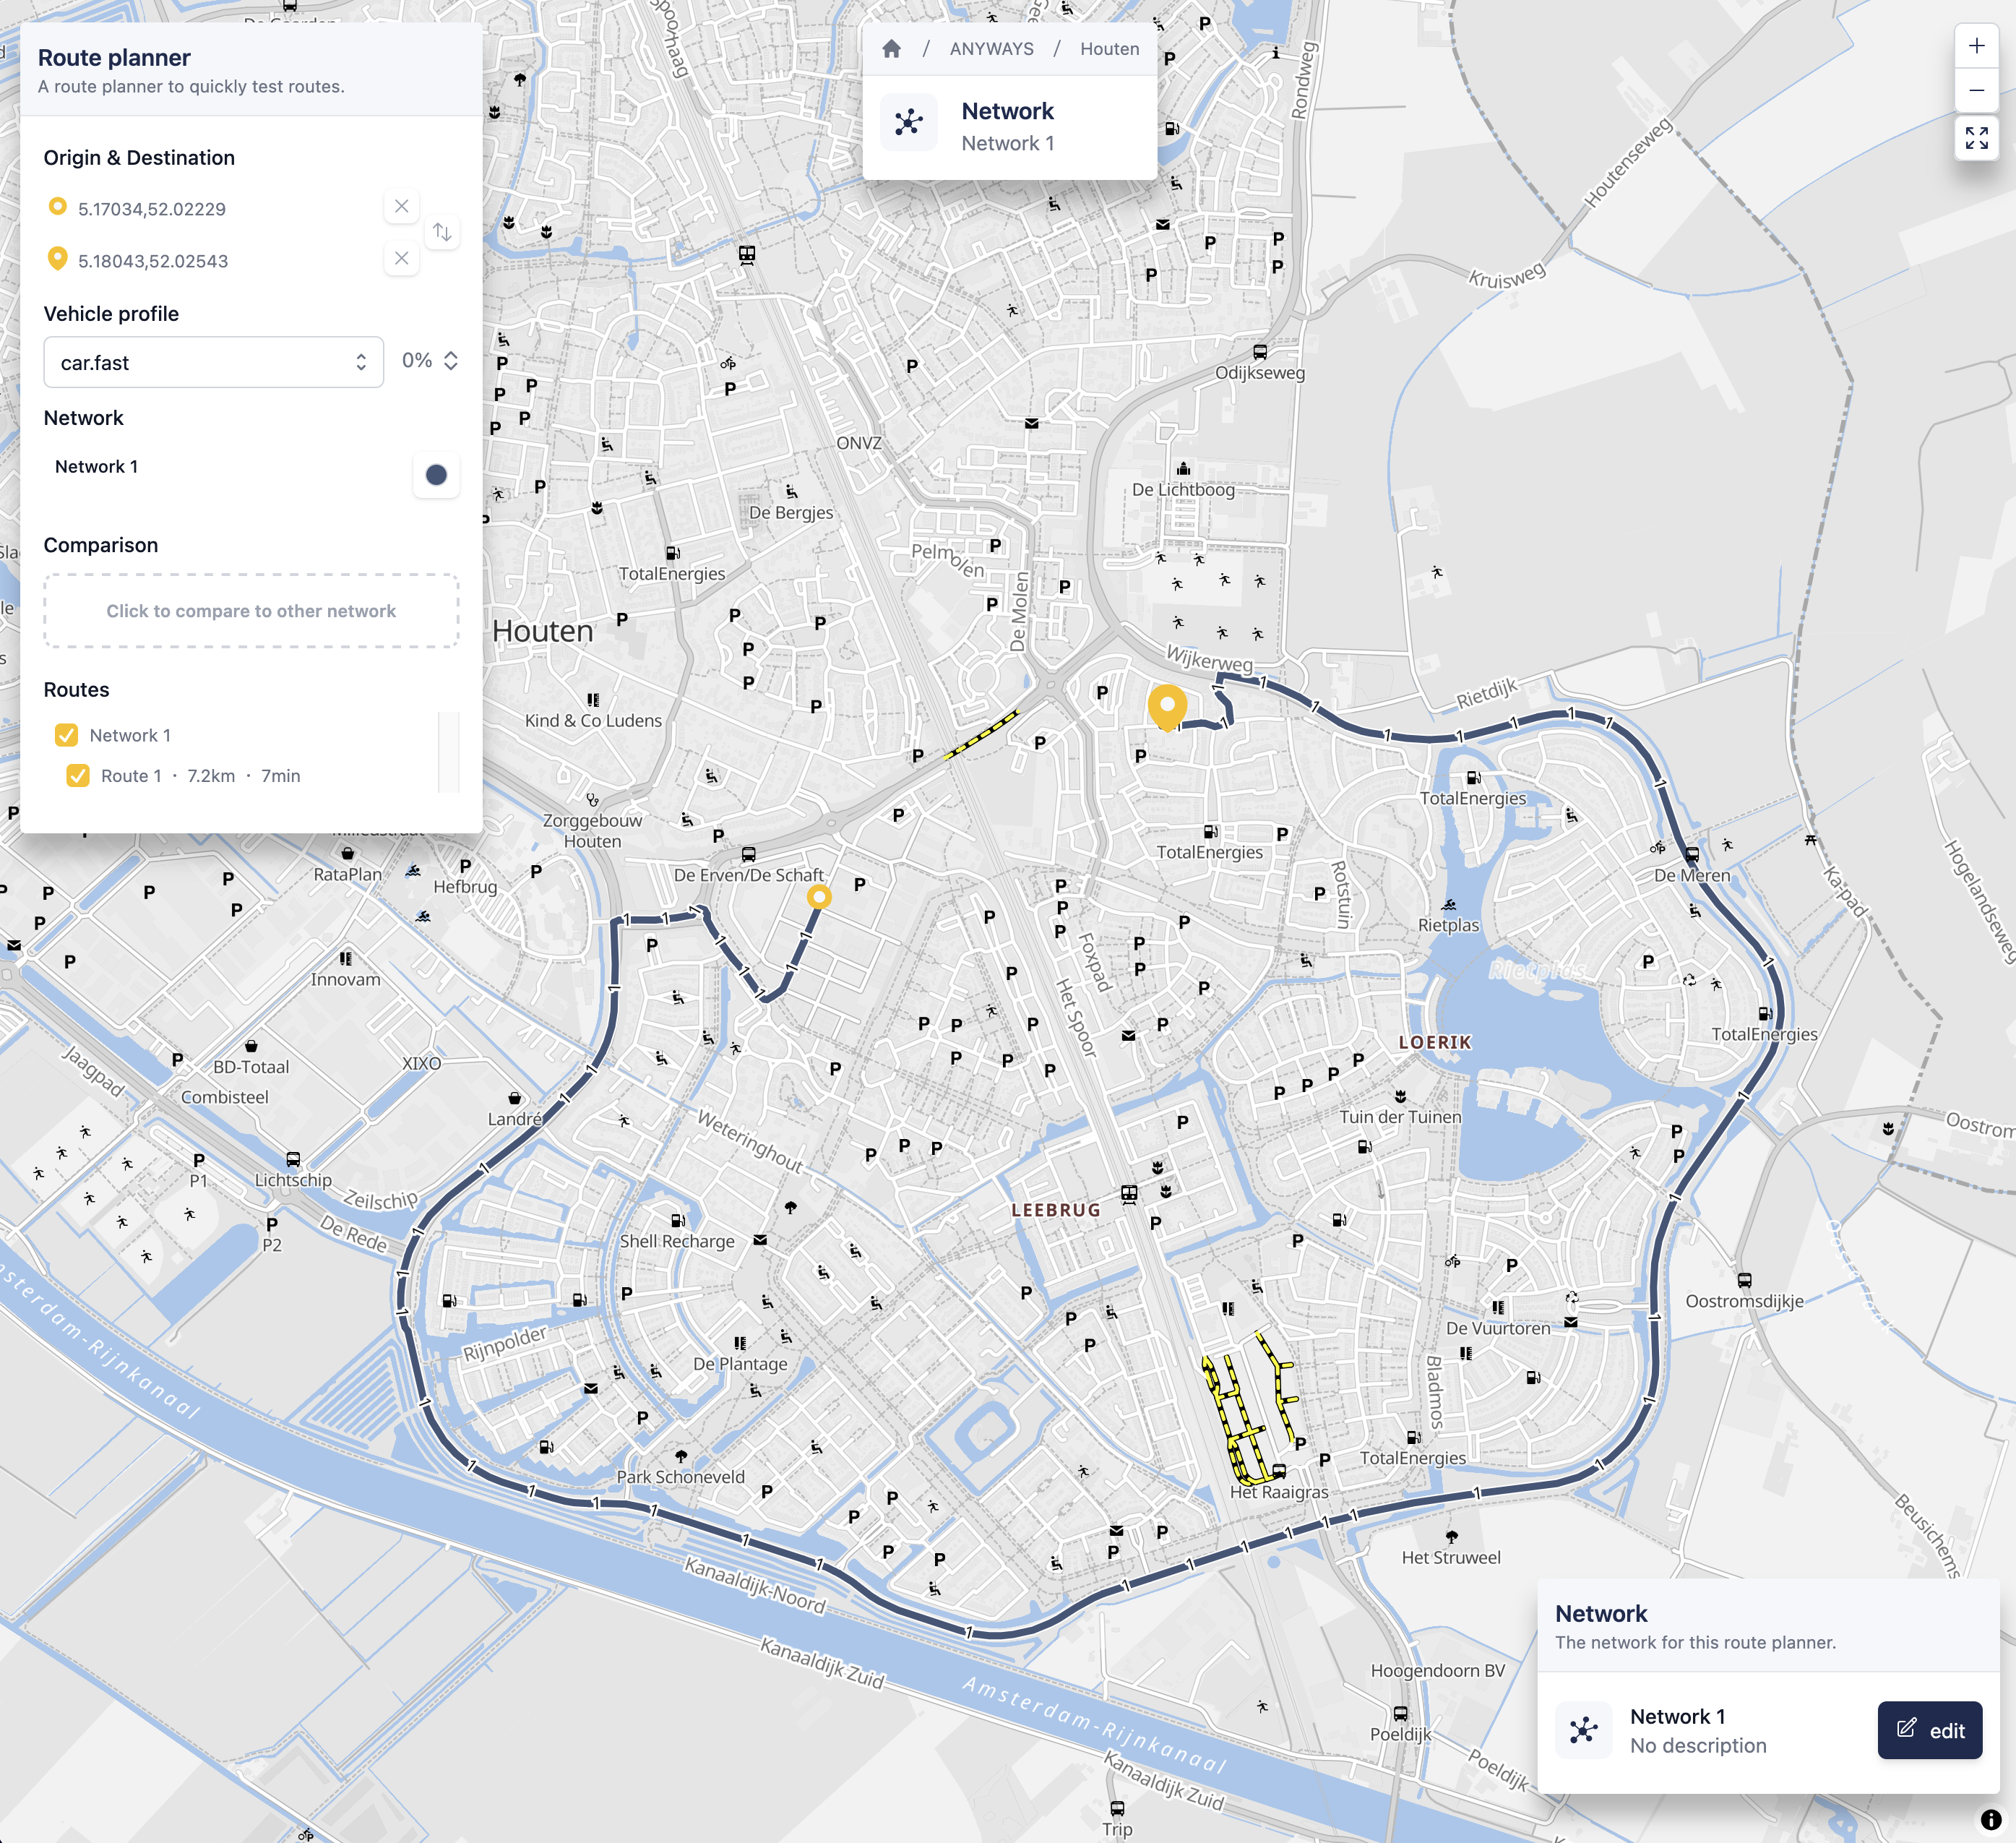
2. Choose origin and destination
- Click once on the map to set the origin
- Click a second time on the map to set the destination
The route planner will calculate a route between the two points.
3. Inspect the route
Once the route is calculated, you can:
- See the selected route on the map
- Review route length and travel time
- Adjust route planner options to compare different modes of travel
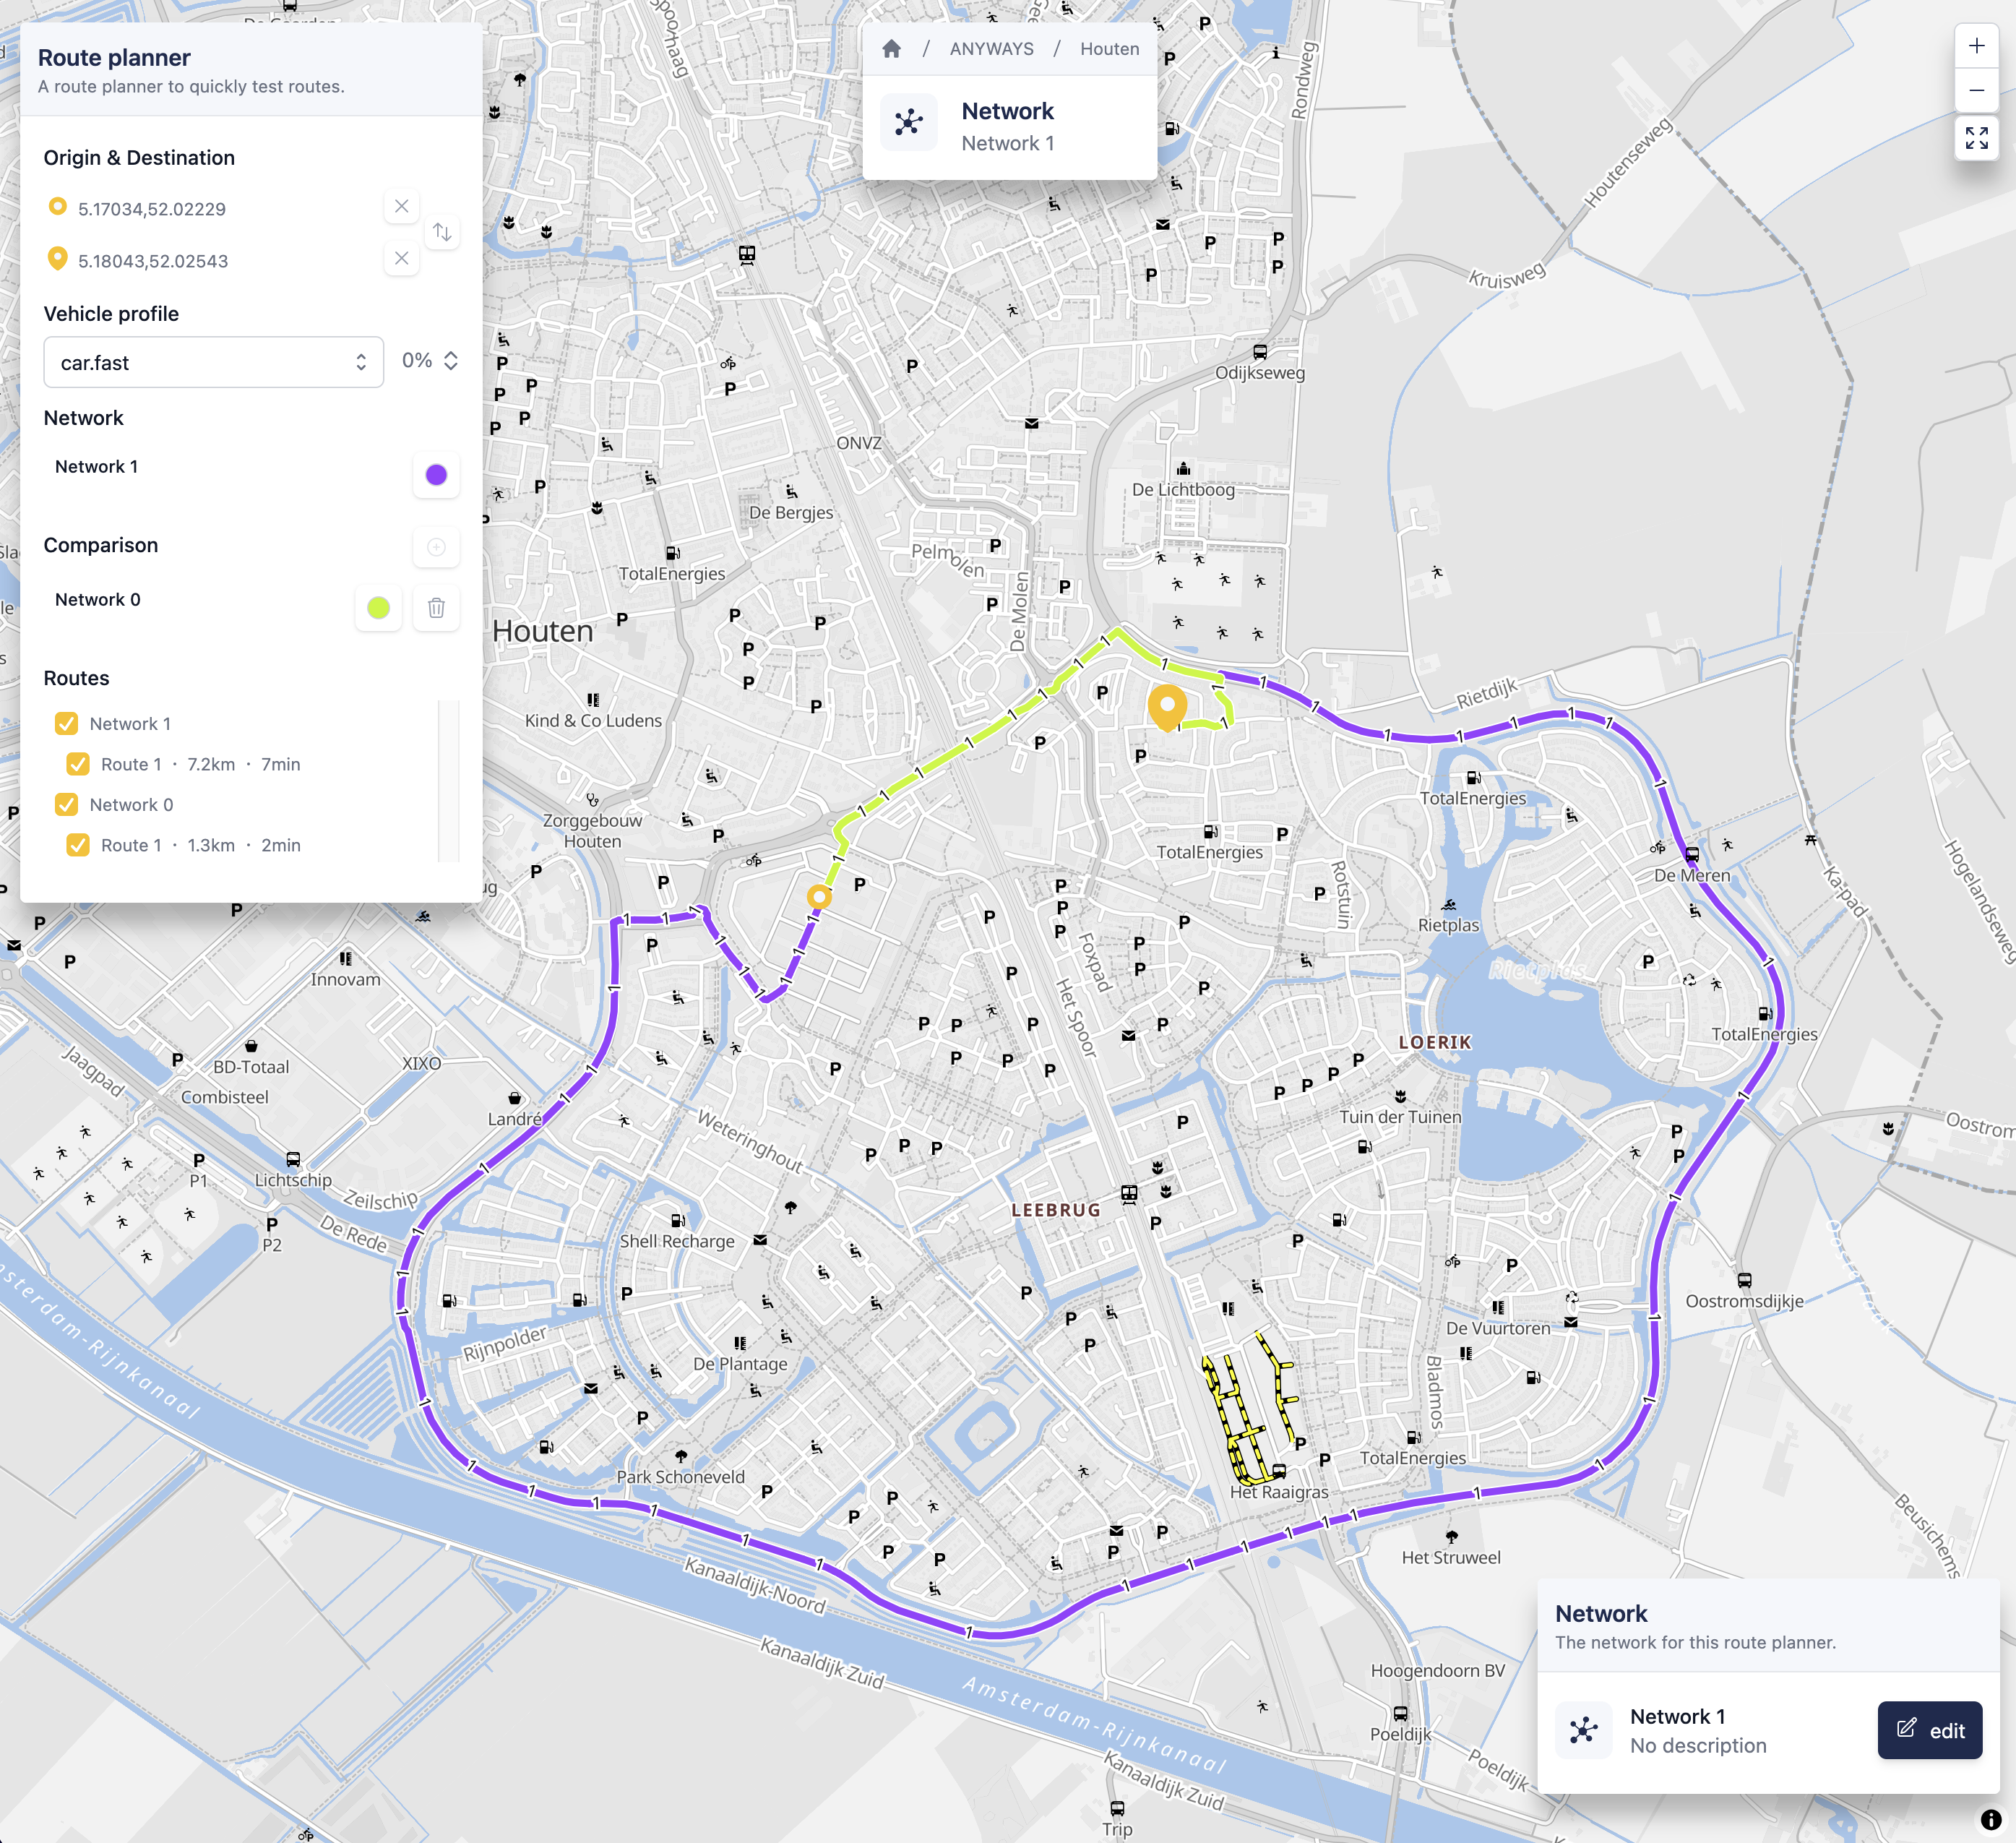
Compare routes across networks
You can compare routes between different networks, for example to see the effect of edits.
- Find the Comparison section in the route planner widget
- Click Click to compare to other network to add a second network
- Repeat to add more networks. Each comparison network gets a distinct color from the standard palette automatically
- The route planner calculates the same origin–destination route for each selected network. Compare the routes and travel times shown on the map.
The original network is shown in the Network section above the comparison list. It cannot be removed, but you can change its color at any time from there.
This is useful for:
- Comparing a base network with an edited network
- Evaluating the impact of specific changes
Edit the network from the route planner
You can open the network editor directly from the route planner to make small changes and immediately see the effect on routing.
- On the bottom-right of the map, find the Network card showing the network you are using
- Click edit to open the network editor
- Make your changes (see Road Network Editing for details on the editor)
- Save or Discard your changes. You will return to the route planner with the updated network applied automatically.
While editing, the route planner's routes and origin/destination markers are hidden so the editor has a clean view of the network.
Relation to datasets
The route planner is used in two ways in ANYWAYS:
- Manually, to explore and compare routes
- Automatically, to assign routes when creating datasets