This guide shows how to manually define traffic demand by specifying trips between locations and assigning routing behaviour.
When should I use this
Use this approach when you already have origin–destination data or when you want full control over traffic demand.
This is typically used for:
- Using externally provided OD matrices
- Testing a small number of specific movements or scenarios
- Reproducing known or hypothetical traffic patterns
Before you start
You need:
- A project
- Origin–destination data, or a clear understanding of the trips you want to model
Create a manual dataset
1. Start a new manual dataset
- Open your project
- Click New dataset
- Select Free draw
- Enter a name for the dataset
The dataset editor will open.
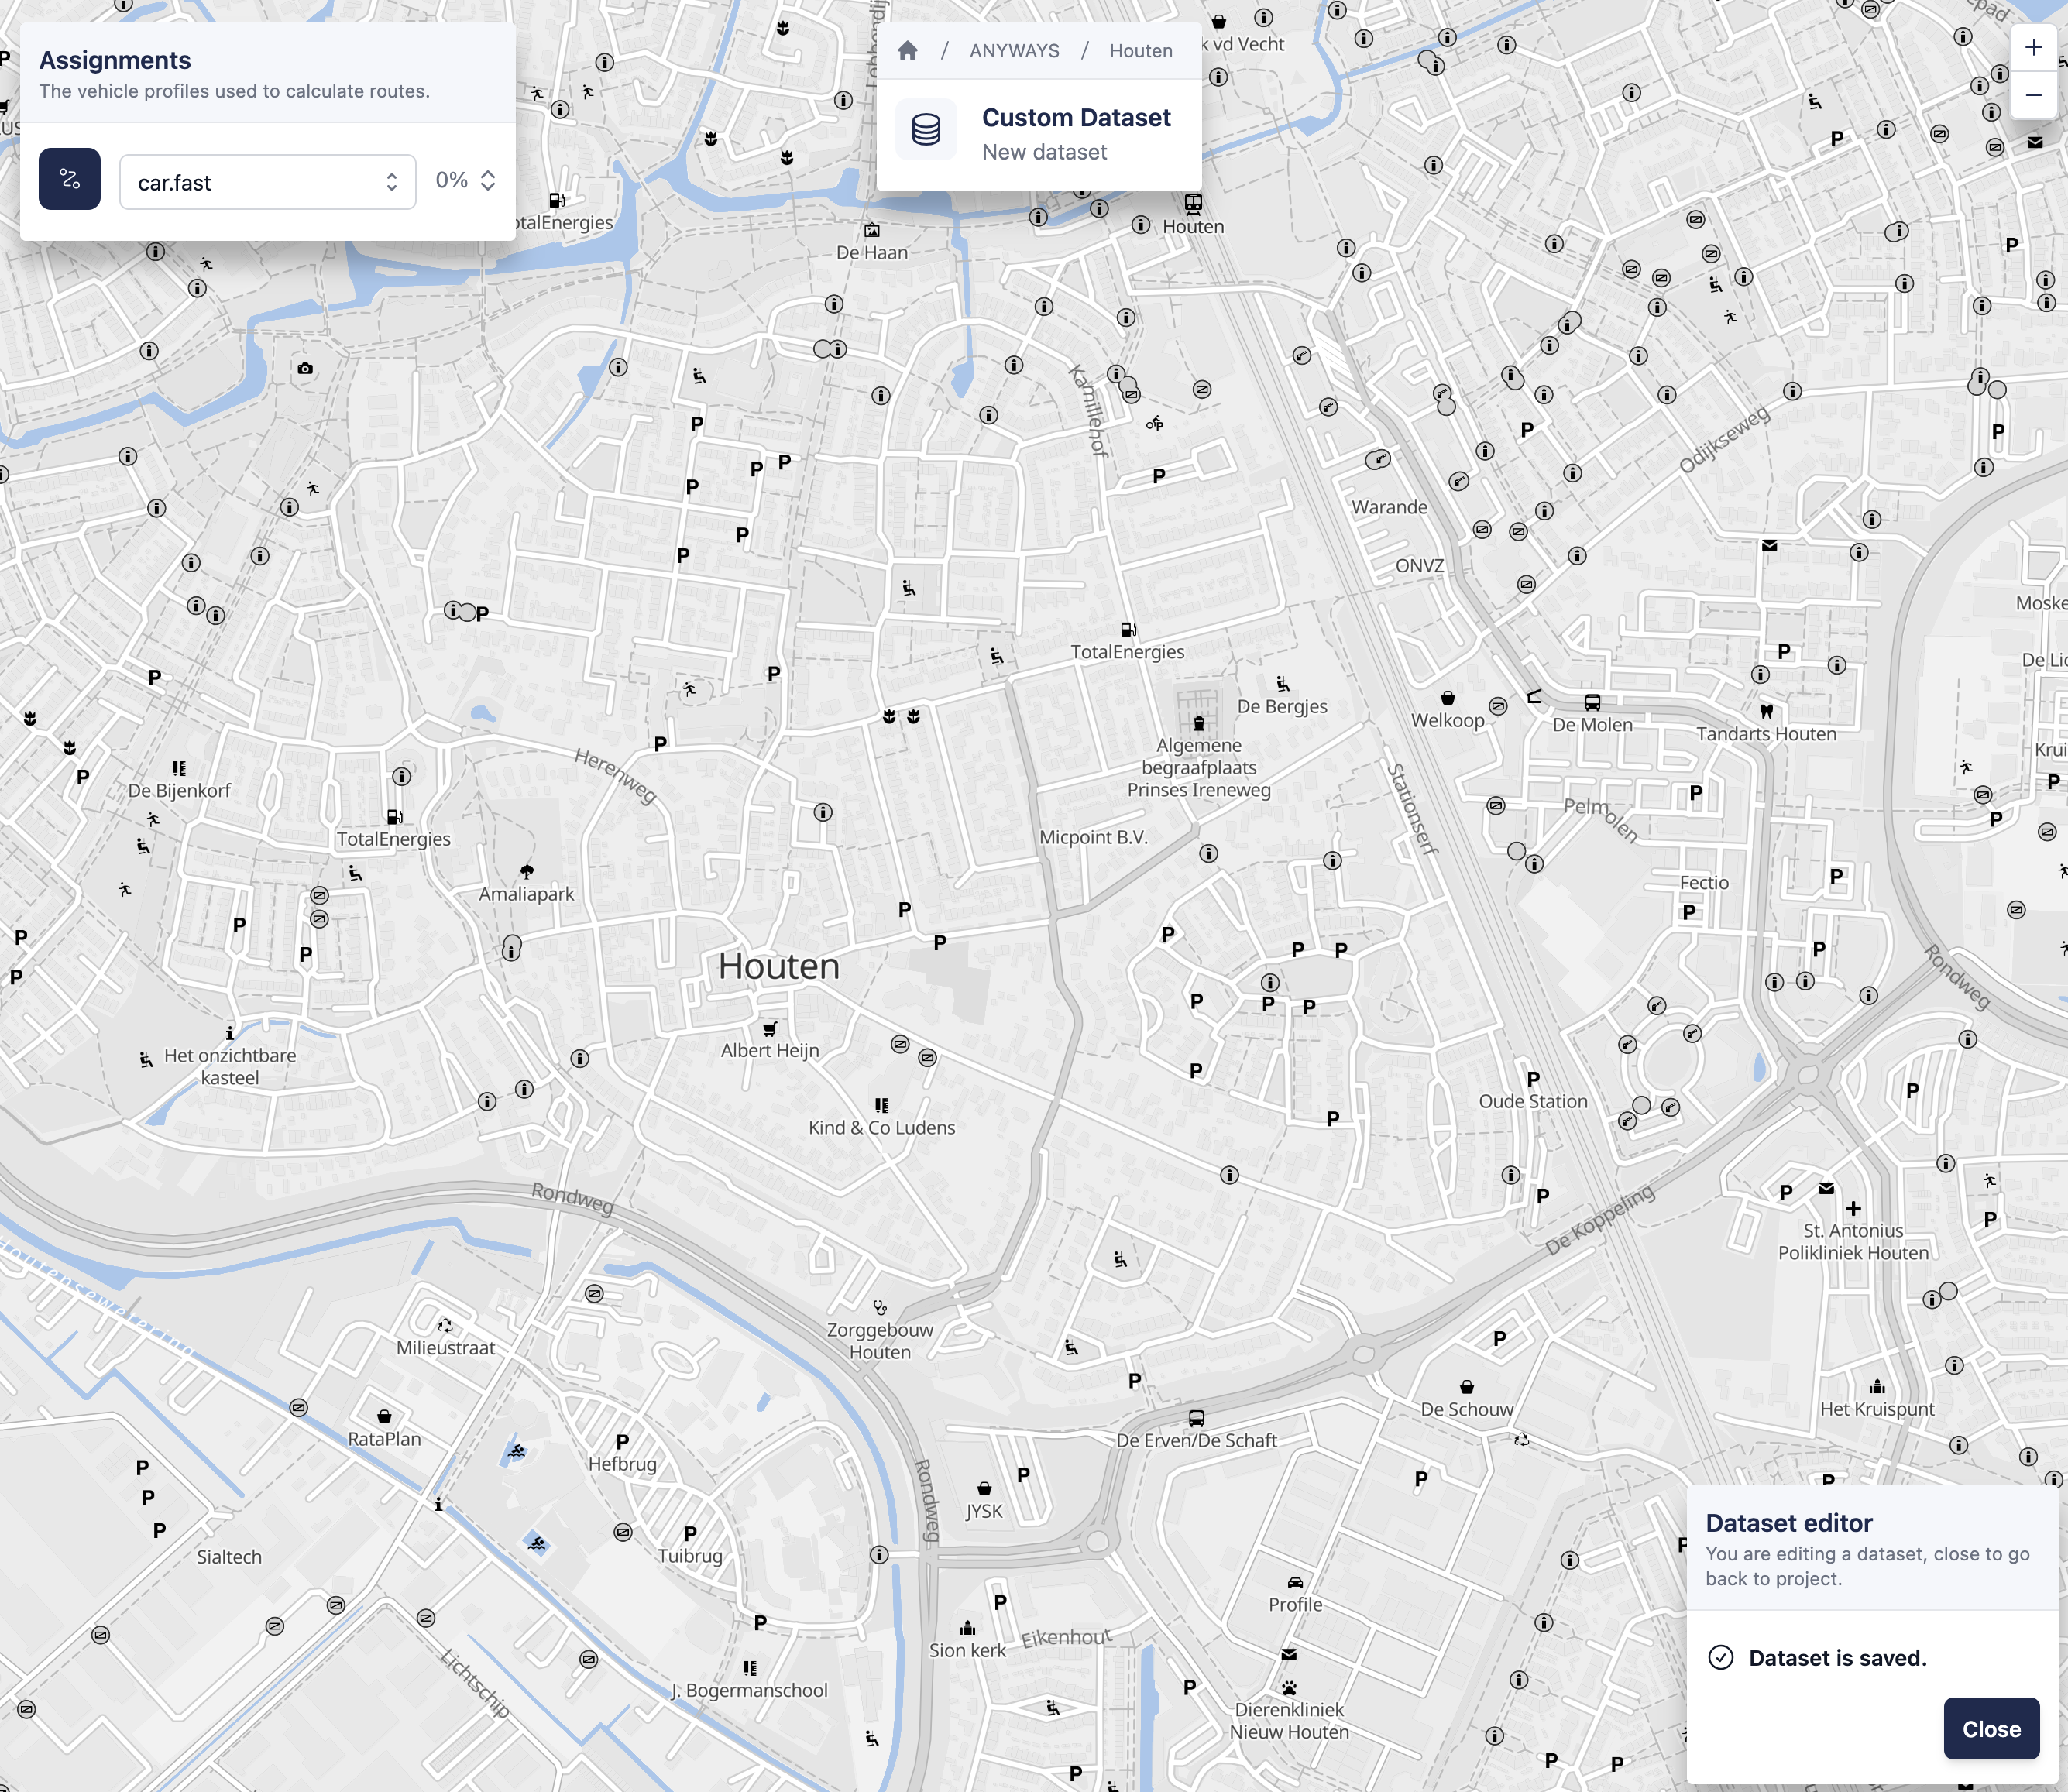
2. Select routing behaviour
Choose a vehicle profile to define how trips will be routed when the dataset is evaluated in a scenario.
Common examples include:
car.fast
car.short
bicycle.commute
The selected vehicle profile applies to all trips in the dataset.
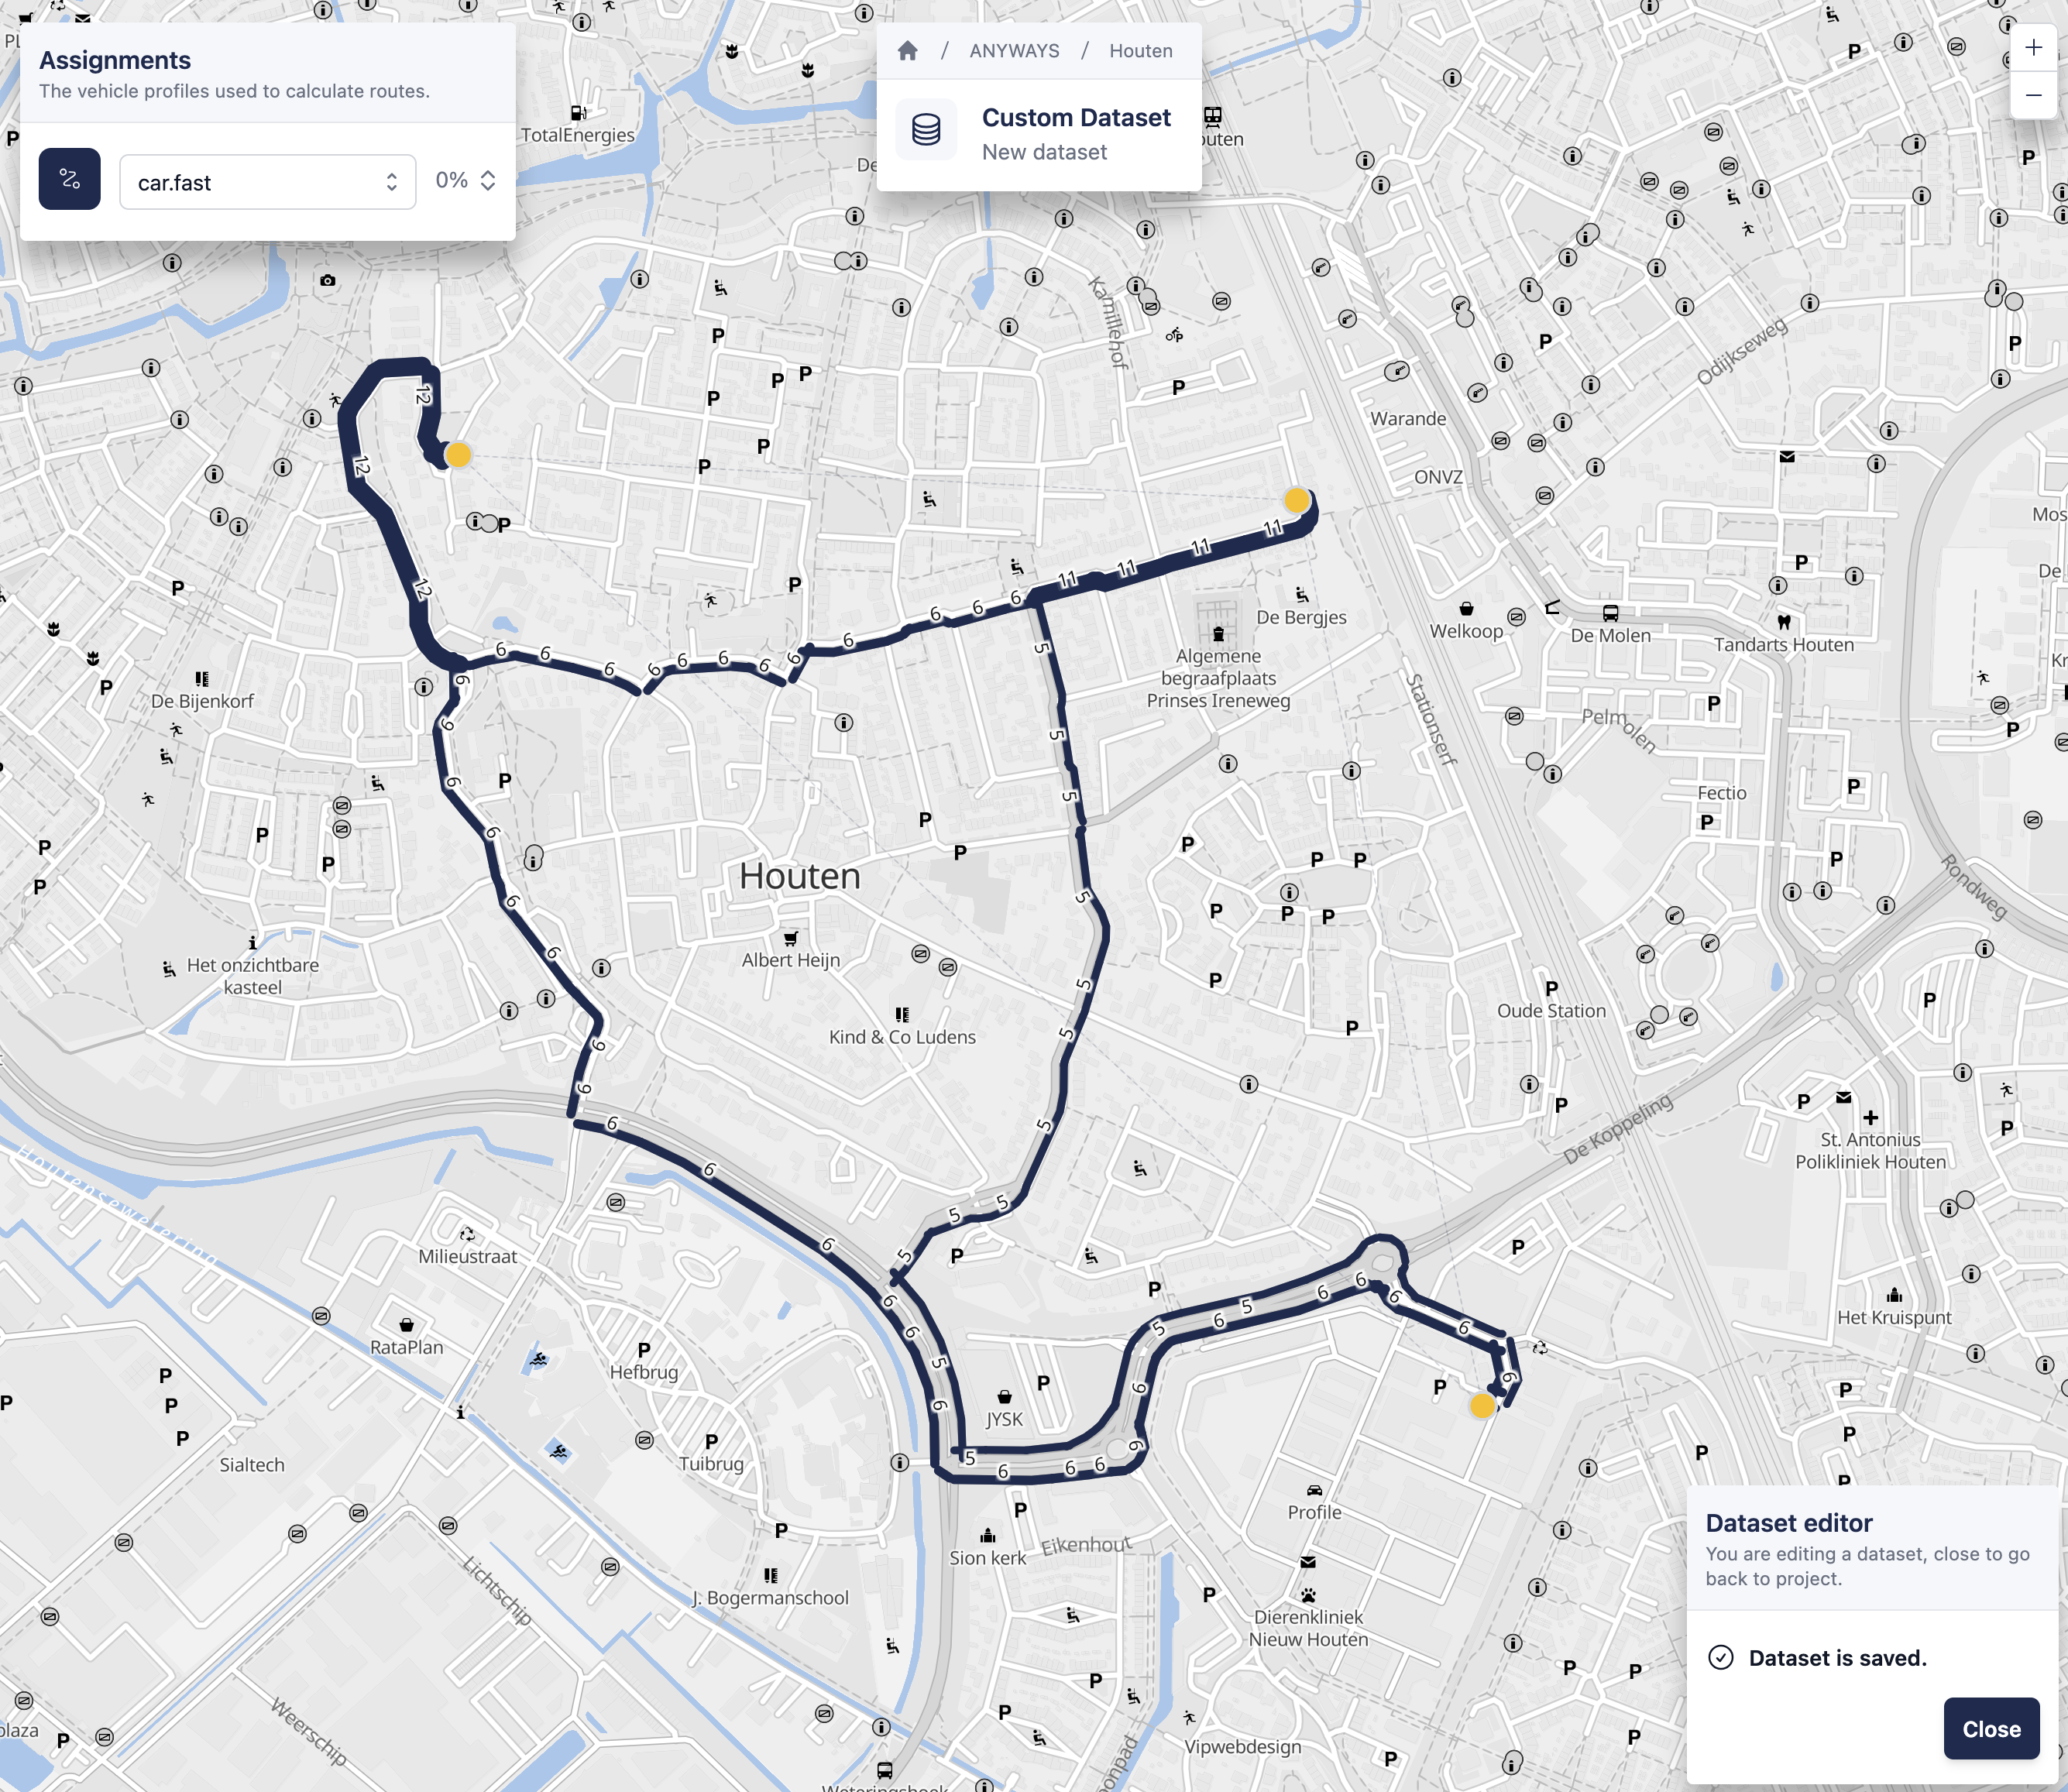
3. Define trips between locations
Trips are defined by creating origin–destination pairs directly on the map.
To add a trip:
- Click on the map to select an origin
- Click again on the map to select a destination
- Enter the number of vehicles travelling between the two locations in the popup window that appears
This creates one origin–destination pair. To add more trips, repeat this process as many times as needed. When creating a new trip, you can select an existing origin or destination by clicking on it instead of creating a new location.
4. Return to project
✅ That’s it! — you’ve simulated traffic using a manually drawn dataset.
You can close the dataset editor to return to the project.