
Building a scenario
This guide walks you through setting up a scenario with traffic datasets and network changes.
Step 1: Open a scenario
From the project page, click on a scenario to open it. The map view opens with the scenario's road network.
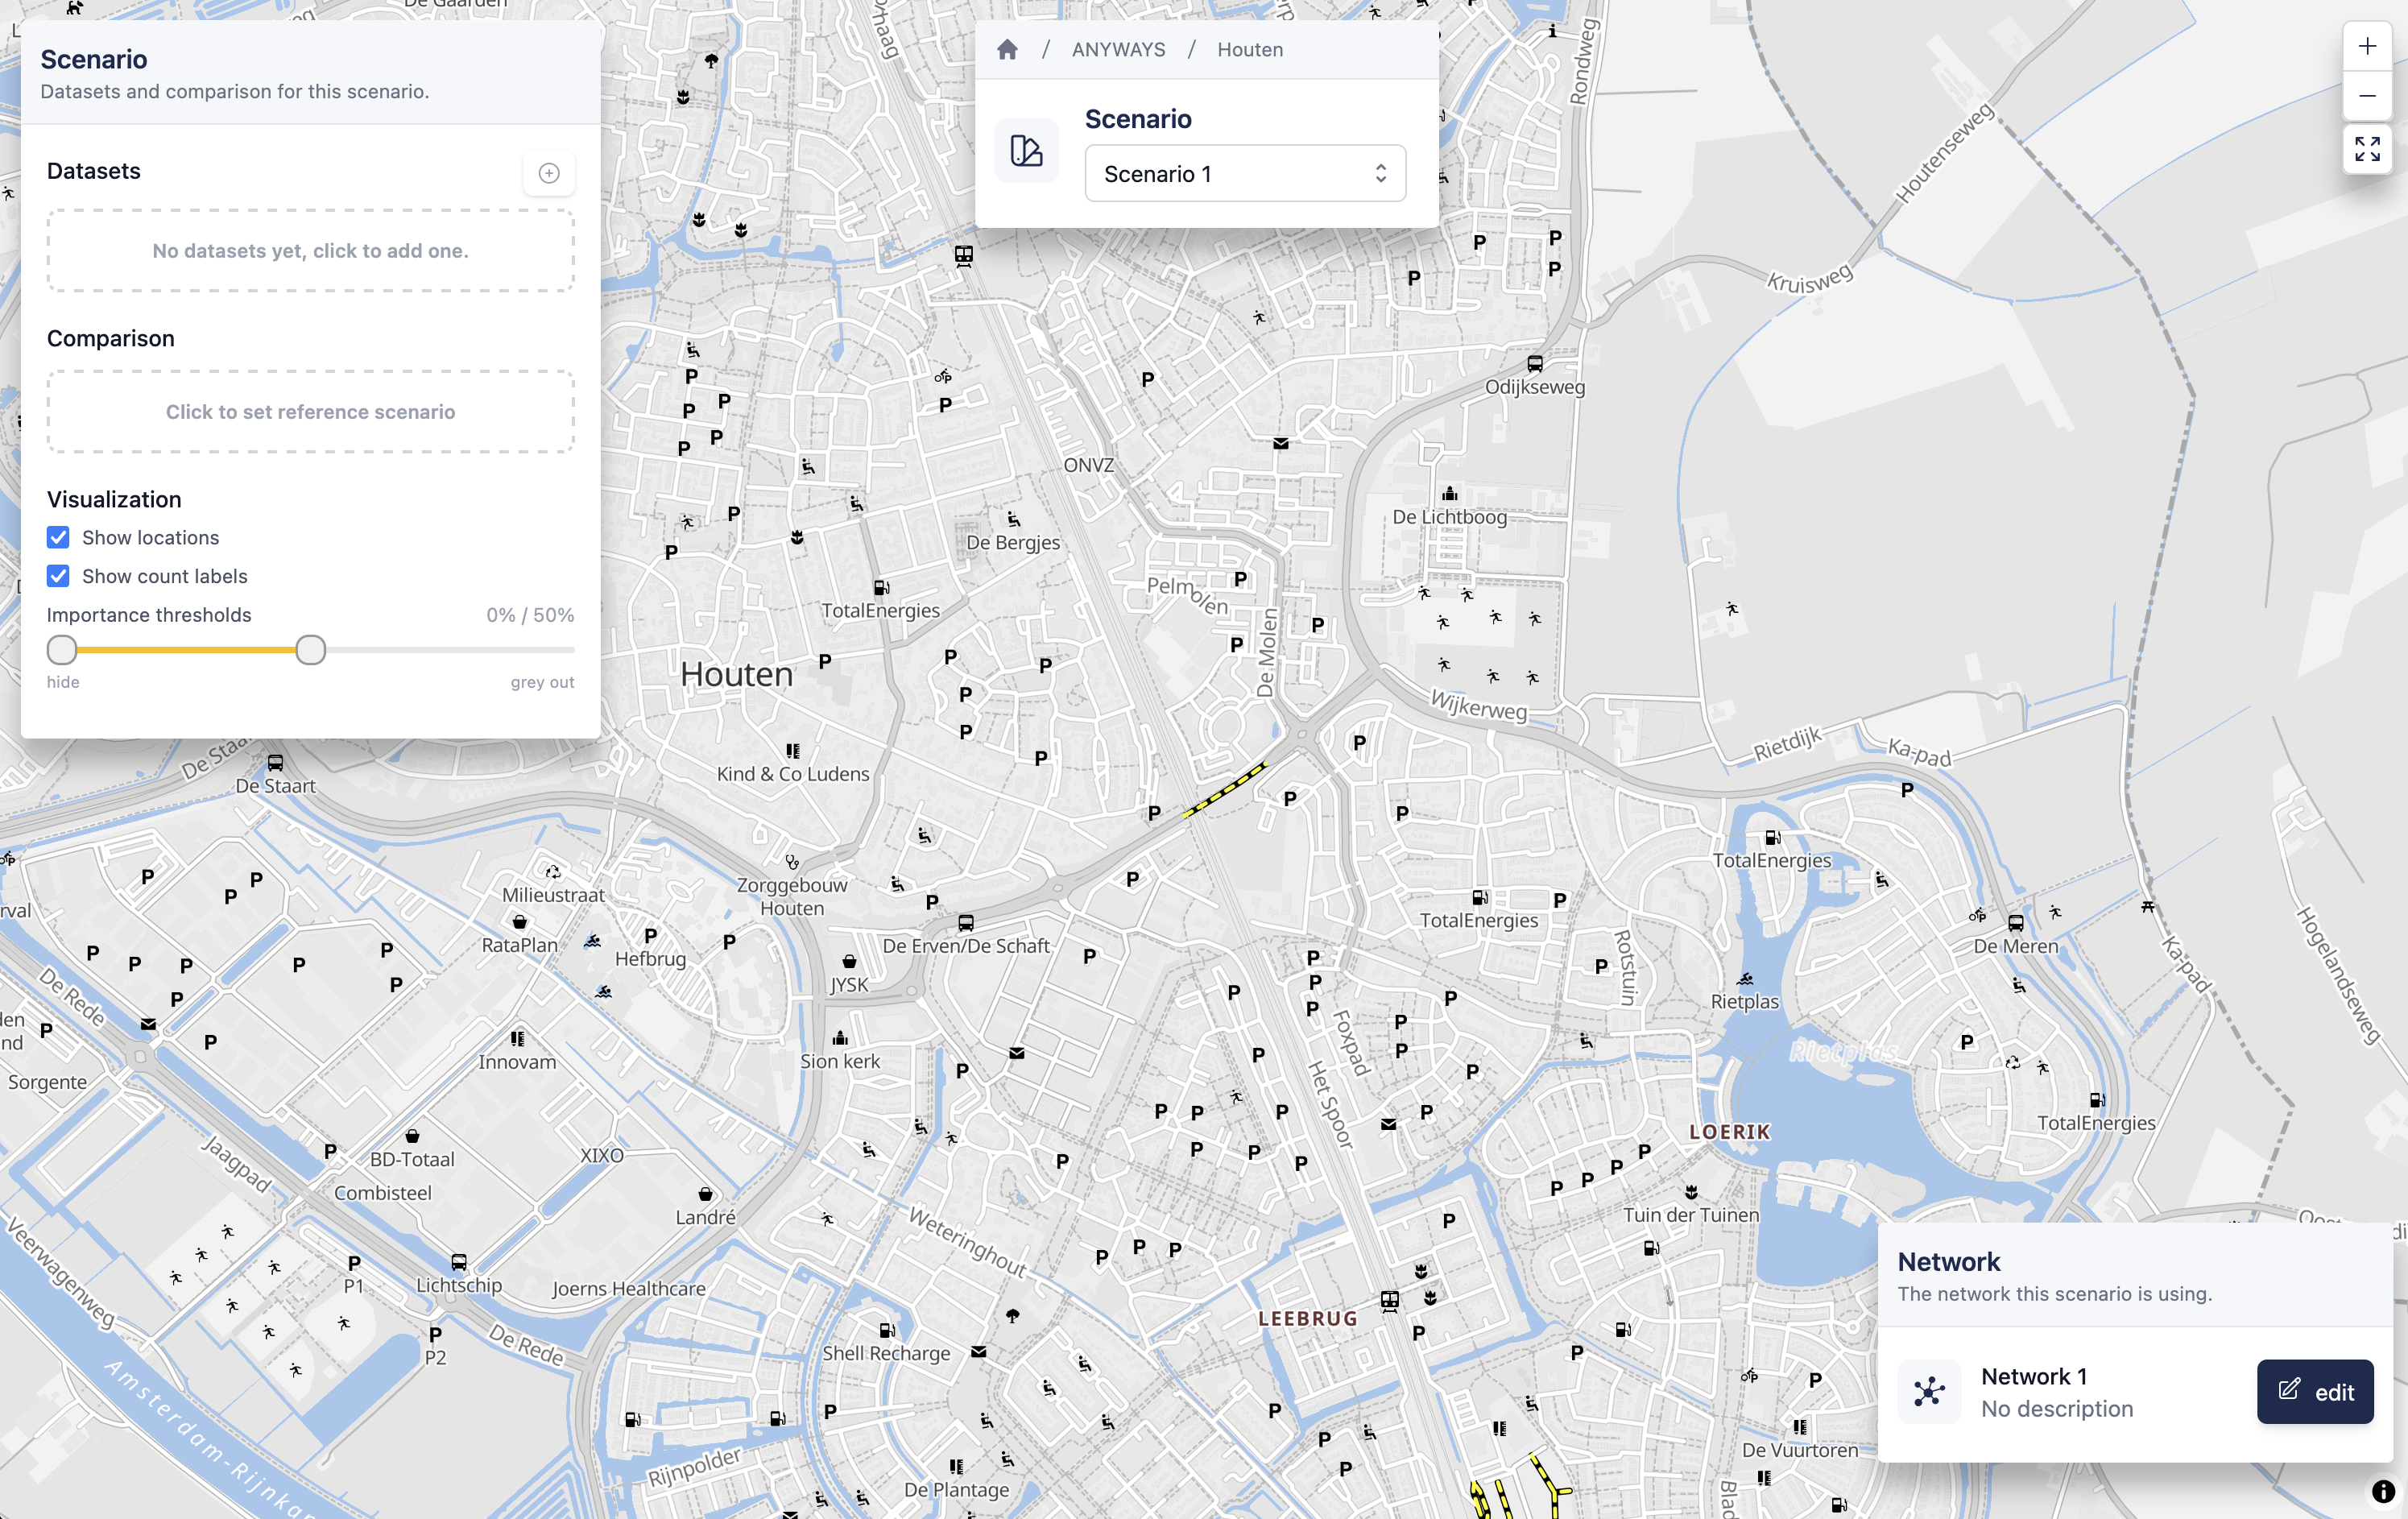
Step 2: Add datasets
On the left panel, click the + button to add a dataset. You can:
- Link an existing dataset from the project
- Create a new dataset — choose between:
- Traffic counts — simulate existing traffic from counter data
- Locations — simulate traffic to/from a single location
- Manual — draw origin-destination trips by hand
For more details on dataset types, see the Datasets reference page.
Each dataset appears in the left panel with a color swatch. Click the swatch to change the color used on the map.

Step 3: Edit the road network
Click Edit to enter the network editor. Here you can:
- Select a road segment and change its properties (road type, speed limit, access restrictions, one-way)
- Close a road entirely by setting it to Closed
- Save your changes when done
Network changes only apply to this scenario — other scenarios keep the original network.
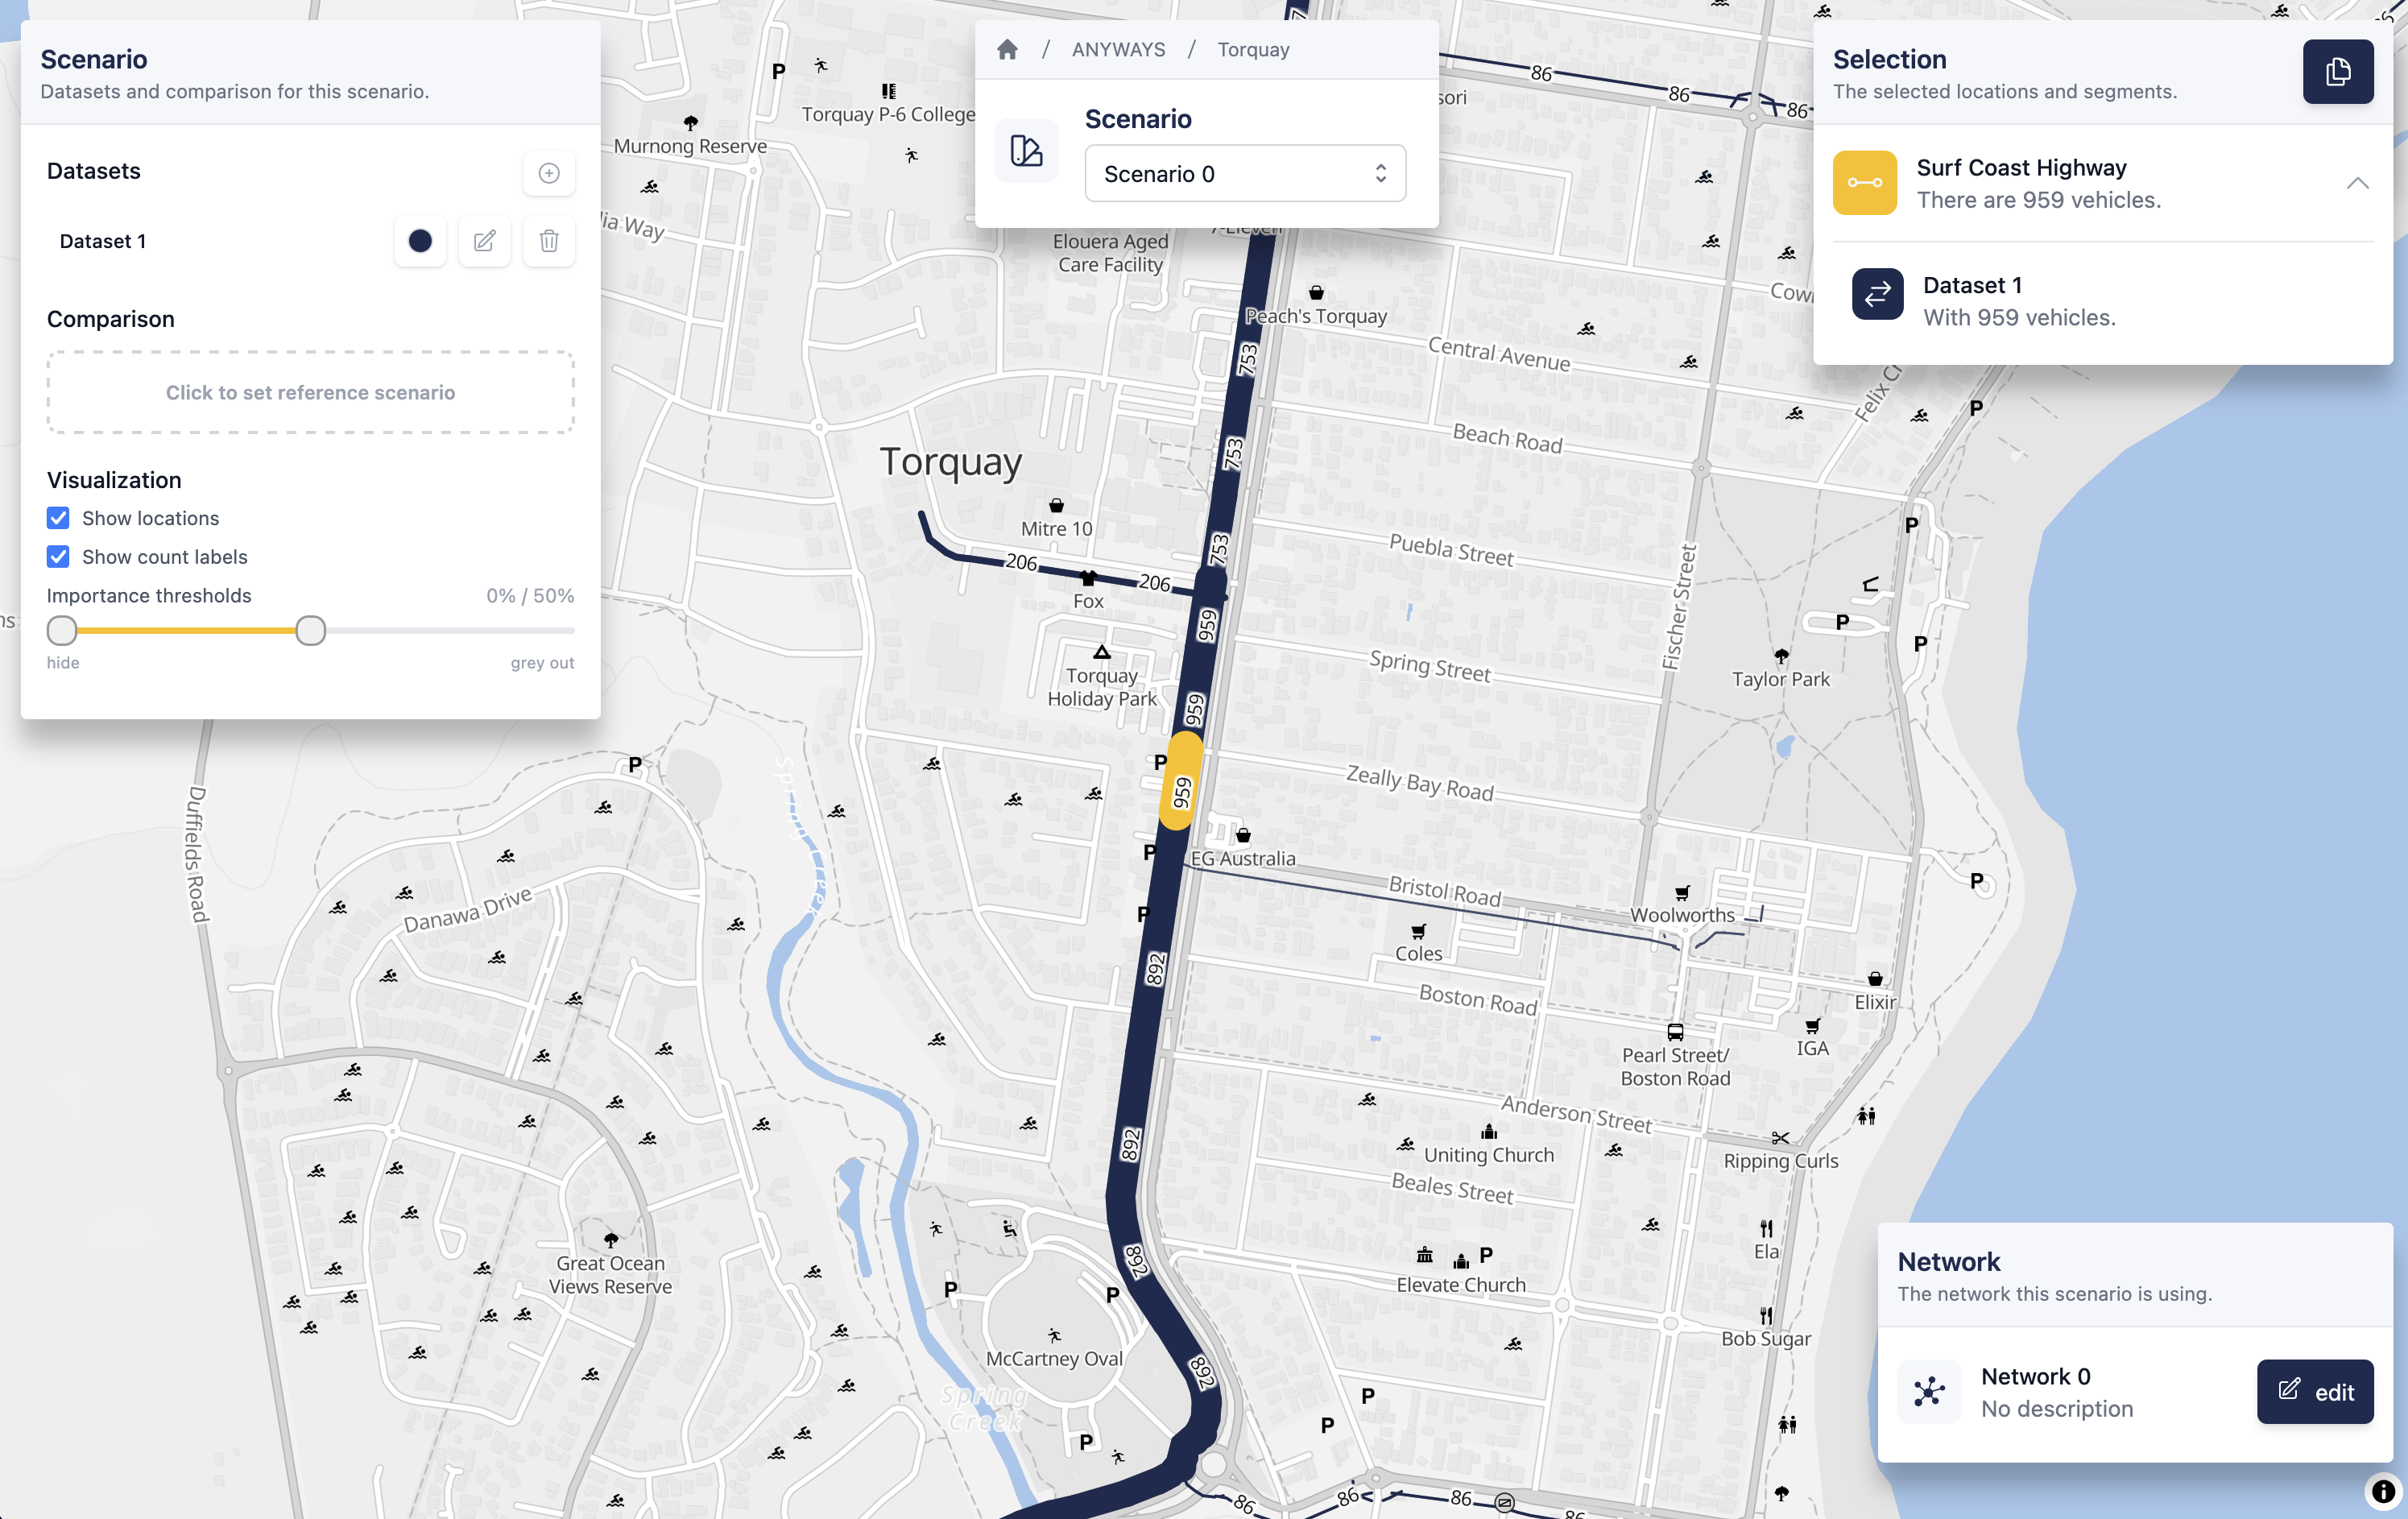
Step 4: View the results
After adding datasets and making network changes, traffic routes appear on the map. Line thickness represents the number of vehicles on each road segment.
You can:
- Click on a segment to see detailed traffic counts
- Use the importance threshold slider to hide low-traffic segments
- Toggle dataset colors to distinguish different traffic sources
Tips
- Start with a baseline: keep Scenario 0 unchanged so you have something to compare against.
- Reuse datasets: the same dataset can be linked to multiple scenarios. This way you only define traffic demand once.
- Use the network selector: when creating counters or locations datasets, you can choose which network version to calculate on.