
Creating delays
This guide walks you through creating delays for a project and drawing the lines that define where traffic slows down.
-
Open your project page.
-
In the Delays section, click New delays.
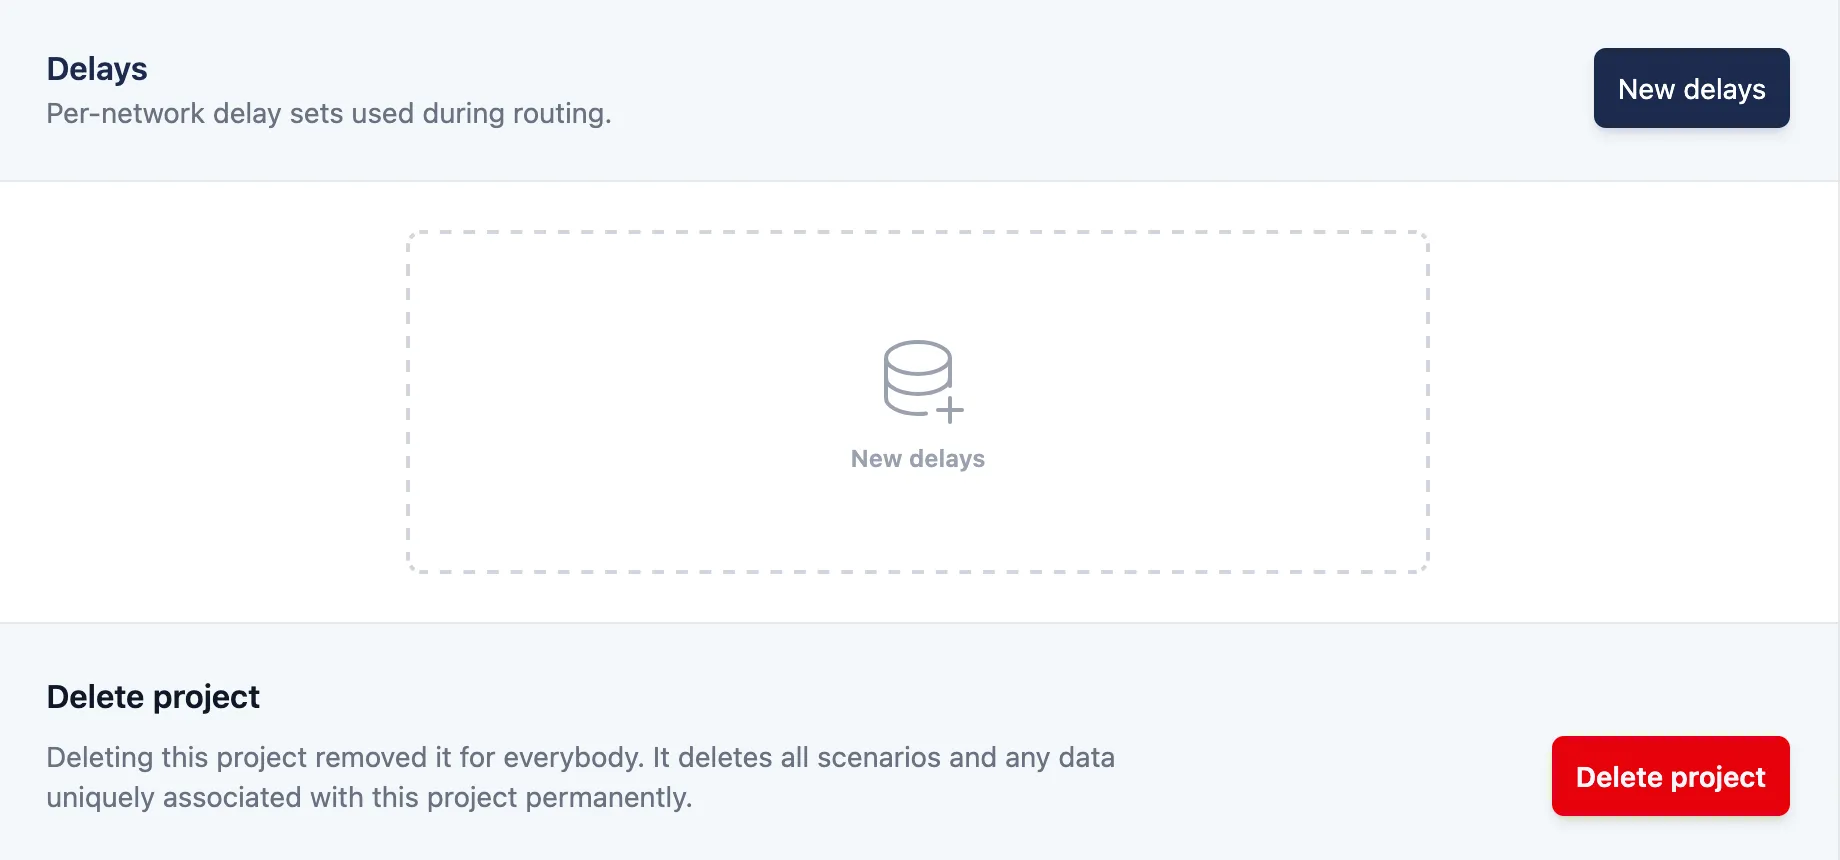
Empty delays list.
-
Set a Name, an optional Description, and pick the Network the delays should apply to. Click Create delays.
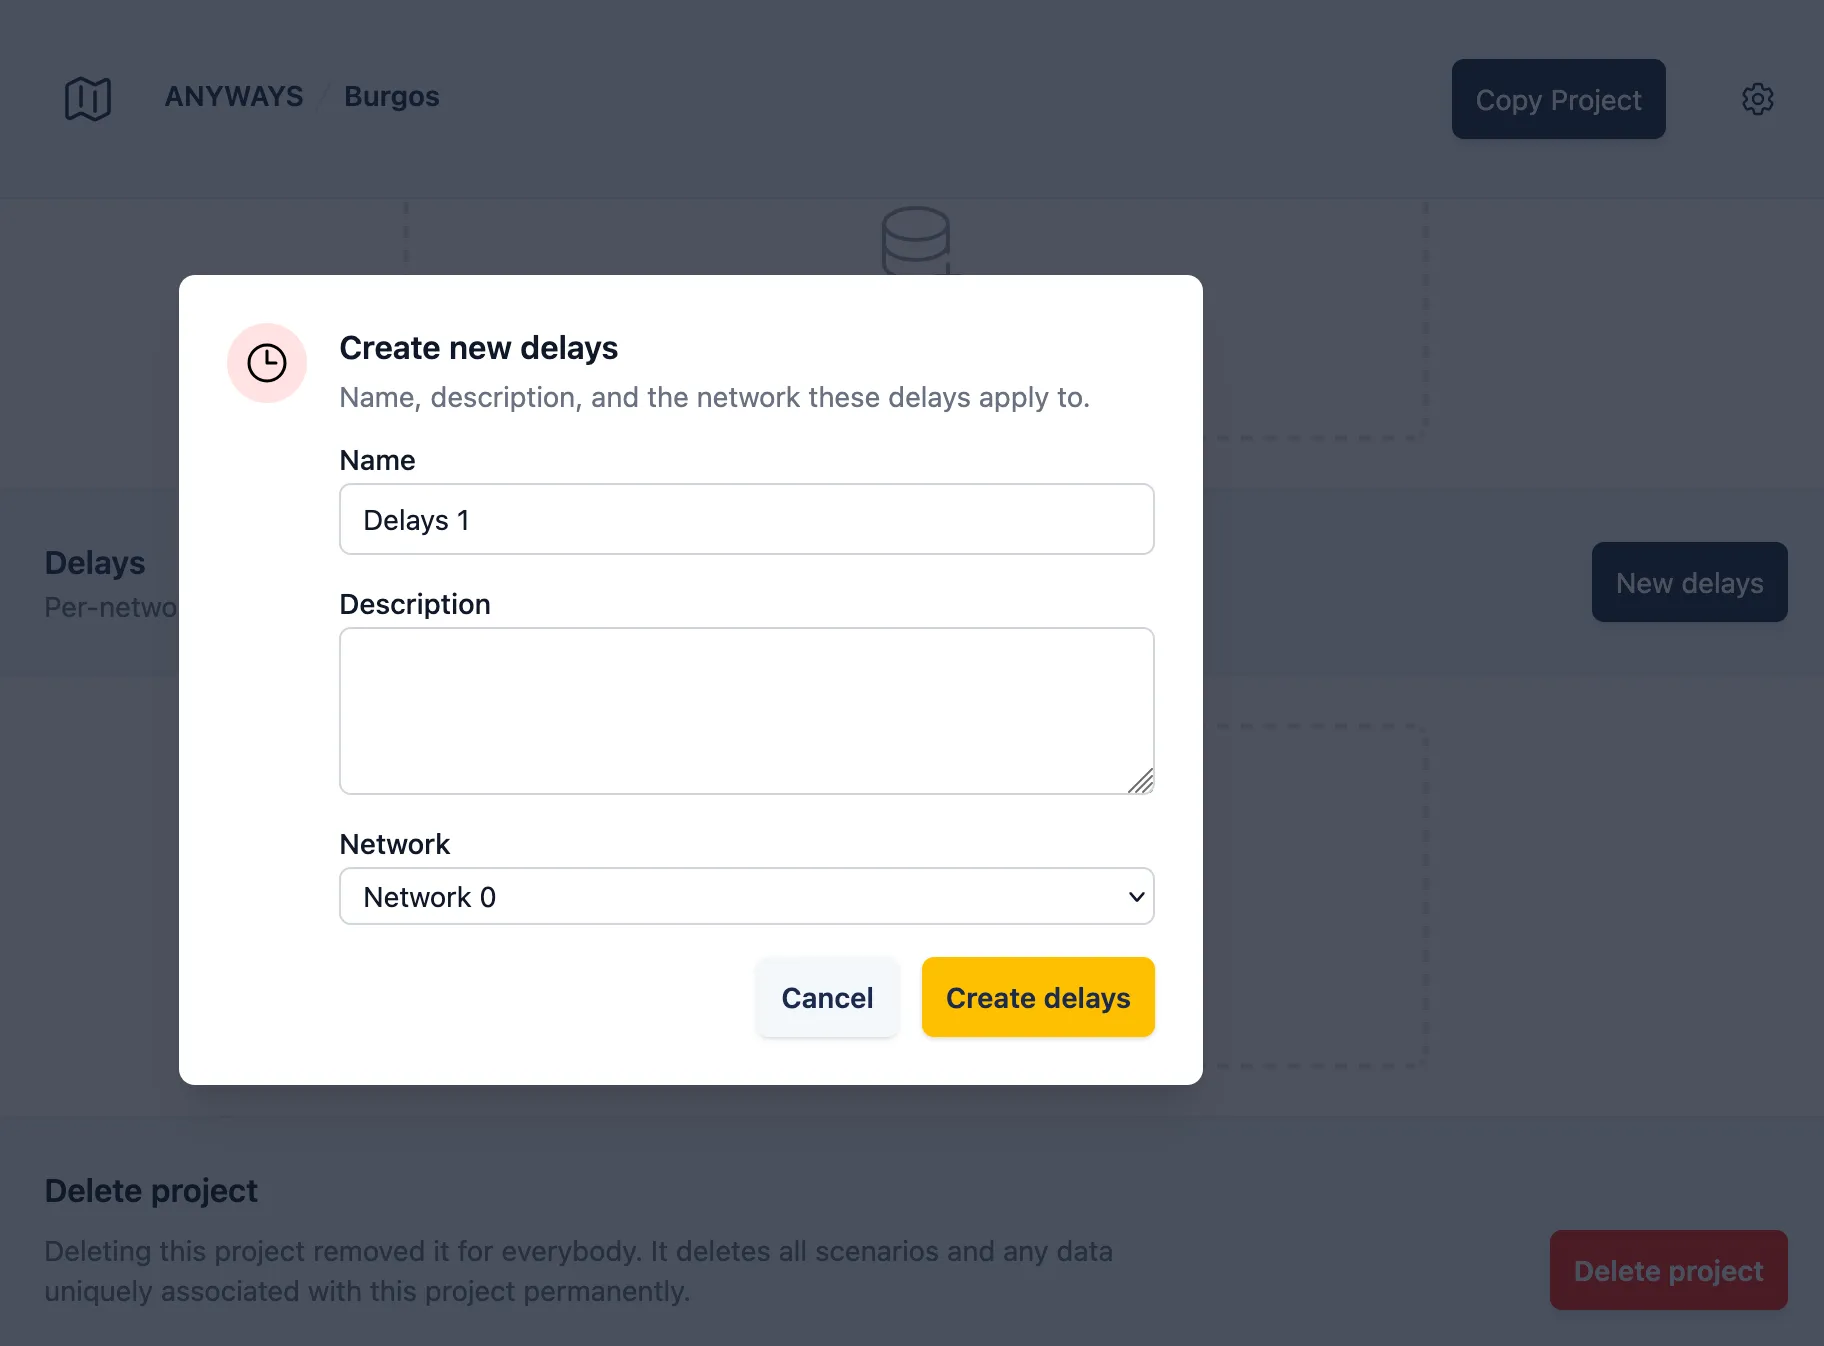
To create delays, click create delays. Optionally change name/description.
-
You land on the delays editor. The map shows the network for the chosen commit.
-
Click + Draw delay line and click points on the map to trace the affected road. Click the last point again (or double-click) to finish the line. Press Esc to cancel.
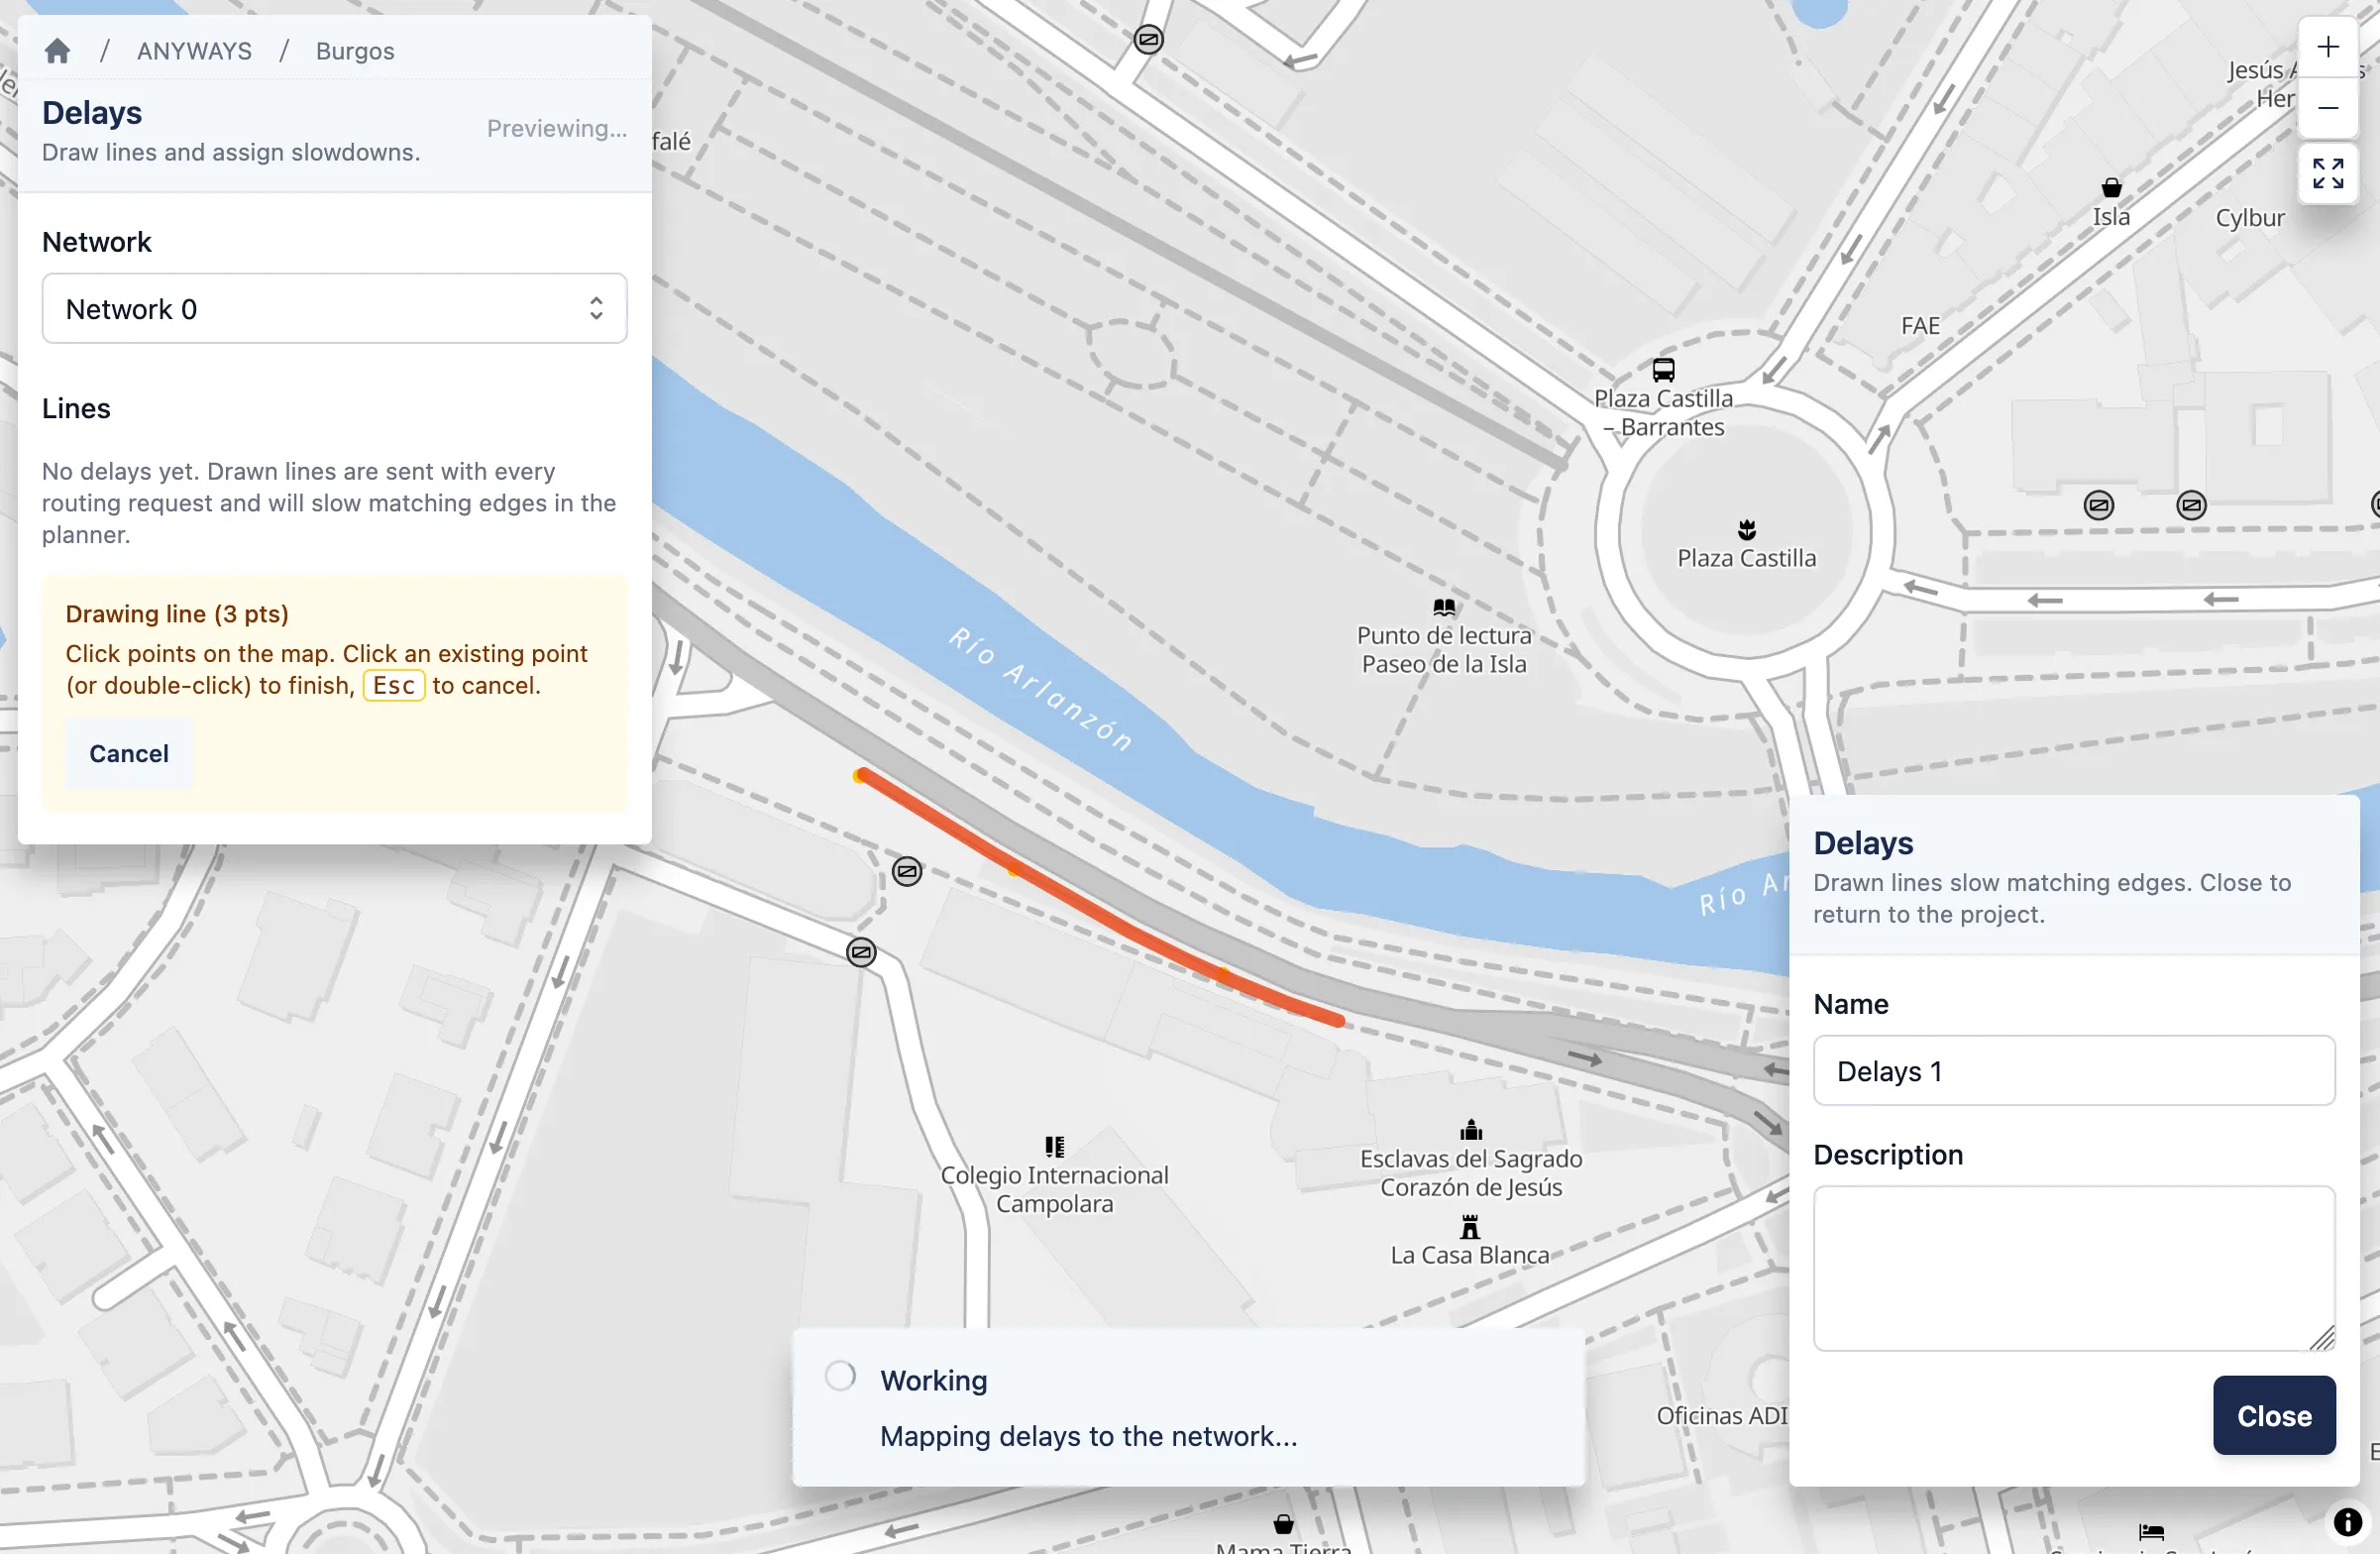
Draw a line on the road where you want the delay to be and a line will be matched to the road.
-
For each line, set a Speed (km/h) OR a Delay (seconds). The other field shows the equivalent value based on the road’s free-flow speed, so you can sanity-check the conversion.
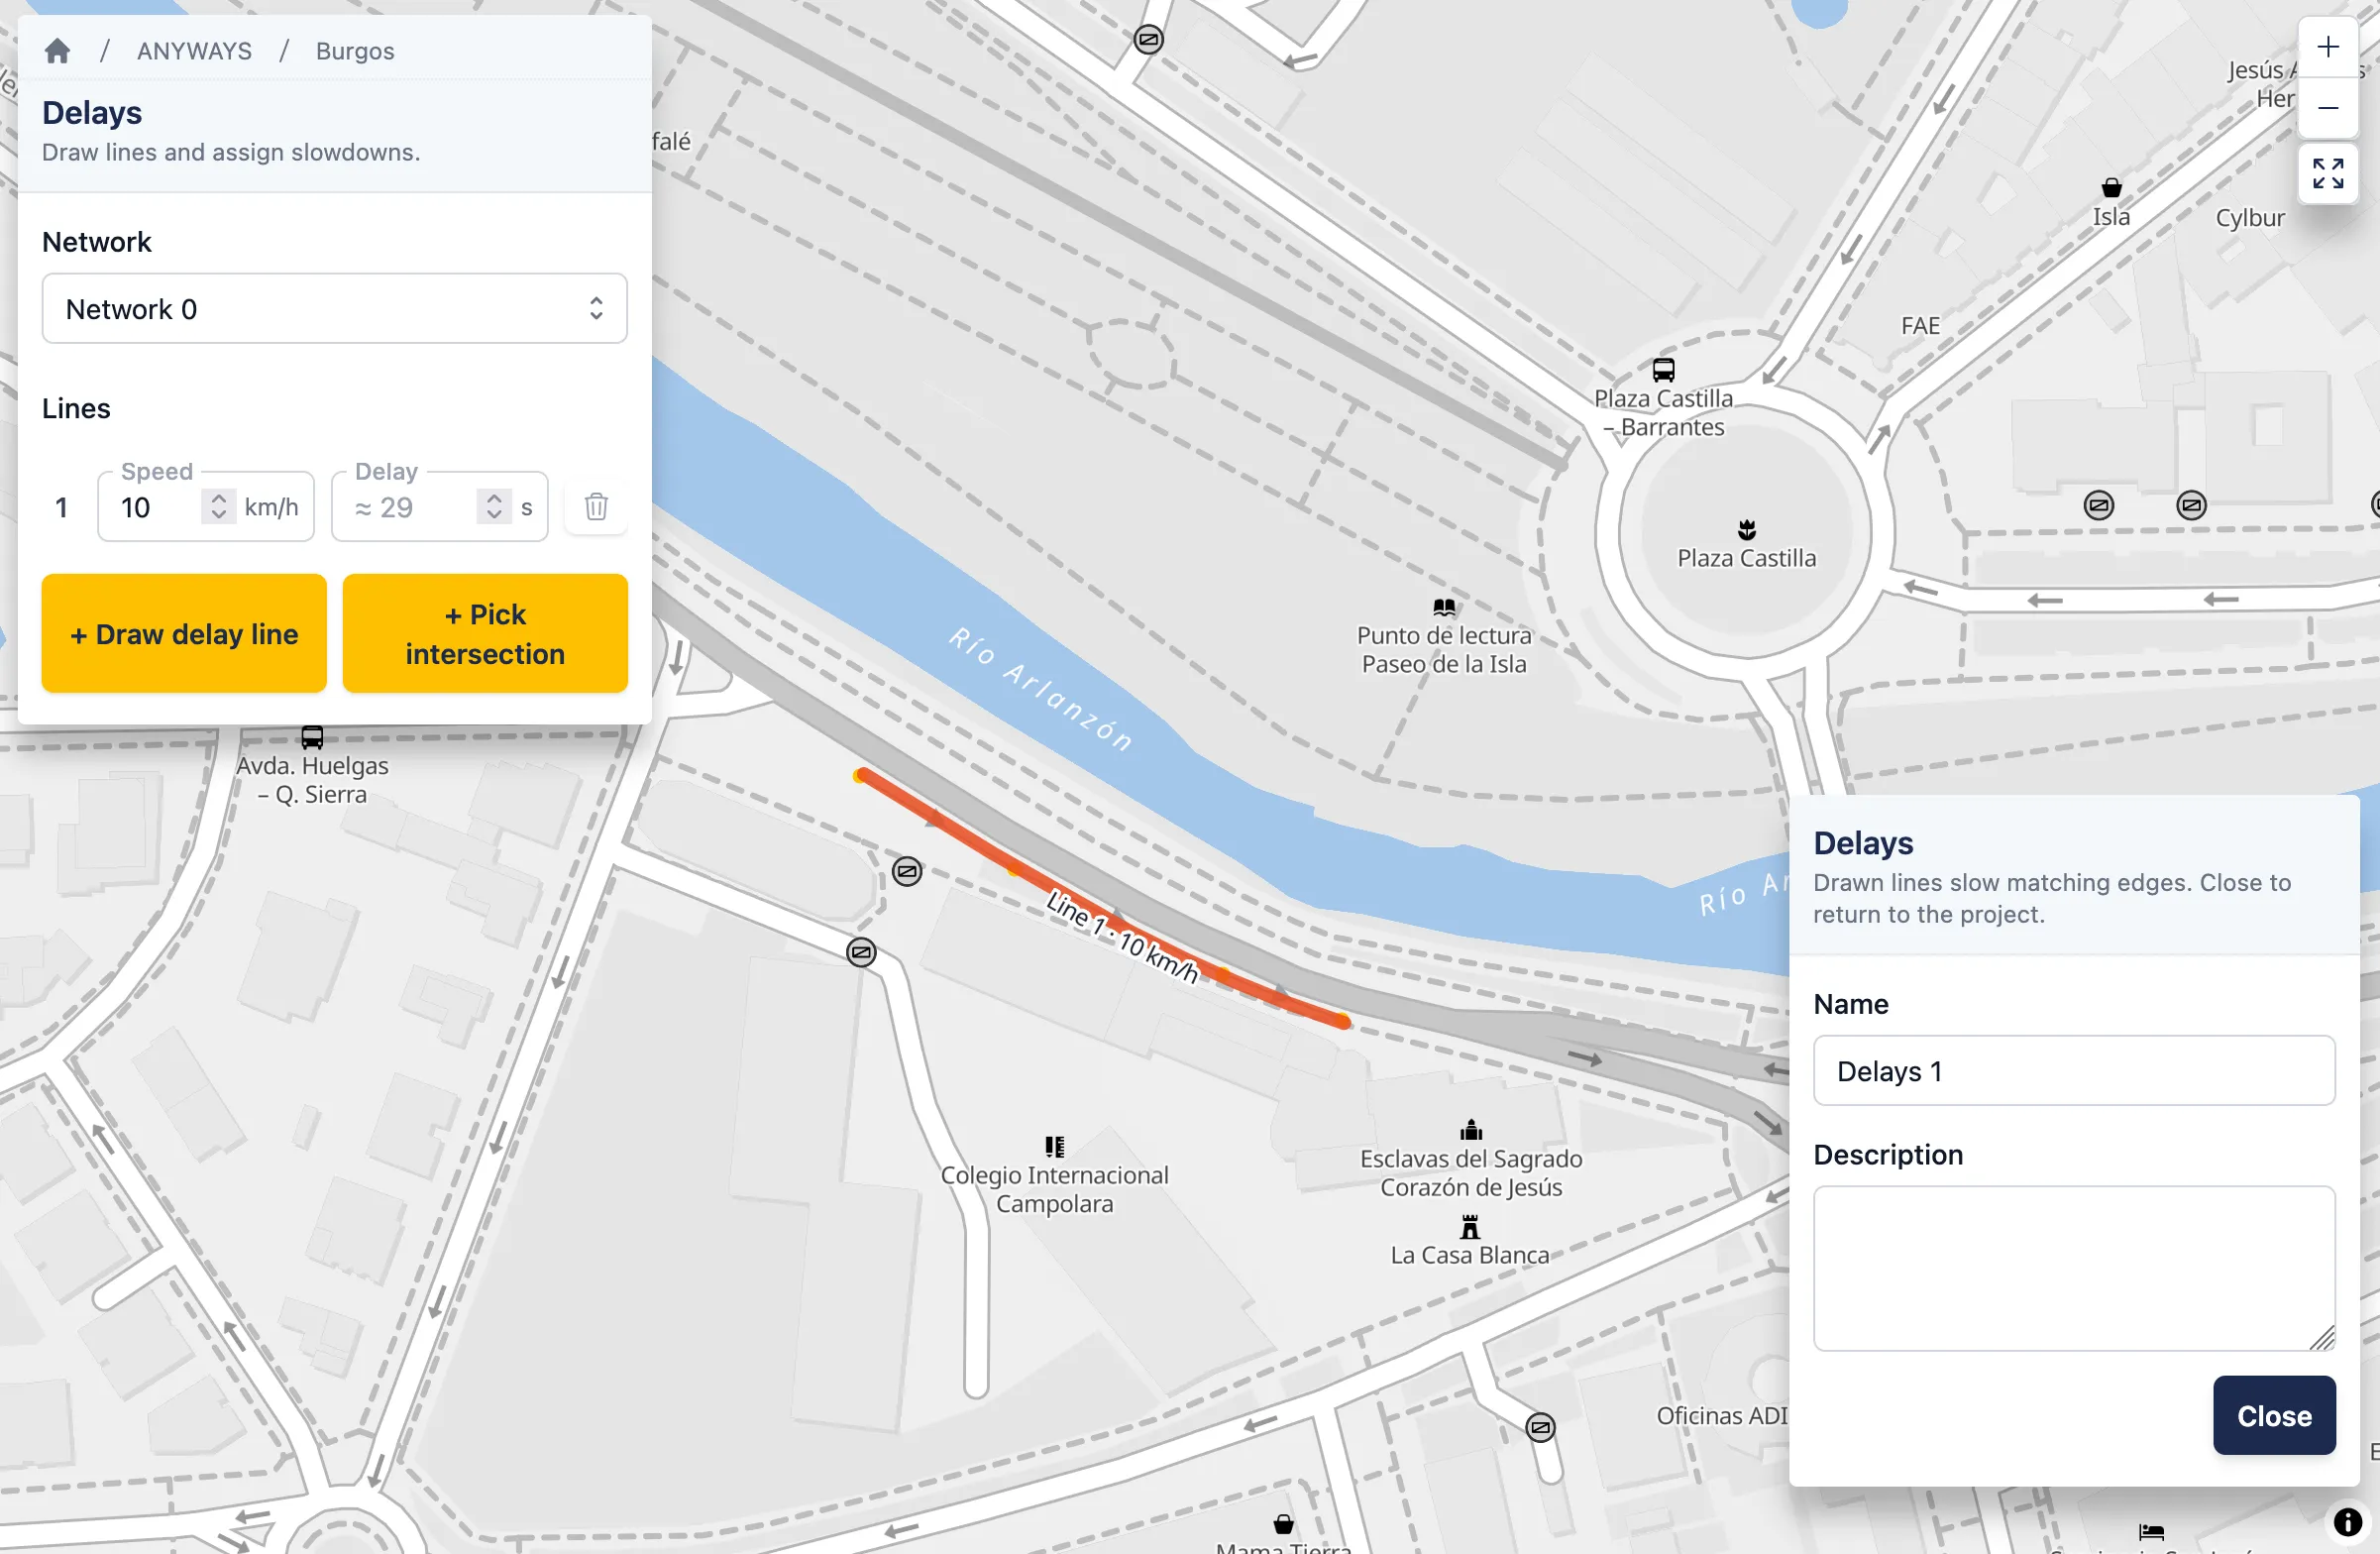
Assign a max speed or a delay in seconds to the line after drawing it.
-
Repeat for each stretch. Every line is saved automatically.
- The grey line shows what you drew; the coloured ribbon shows the matched road edges the routing engine will actually slow down. The gradient runs from red at 5 km/h through orange at 15 km/h to yellow at 30 km/h and above.
- Drag a vertex to move it. Click the ▶ midpoint marker to insert a new vertex between two existing ones. Right-click a vertex for a delete option.
- Use + Pick intersection to seed a slowdown on every incoming approach to a junction — useful for modelling traffic-light or roundabout delays in one click.
✅ Your delays are ready to attach to a scenario.